Top Tools for Making Clay Earrings
Top Tools for Making Clay Earrings
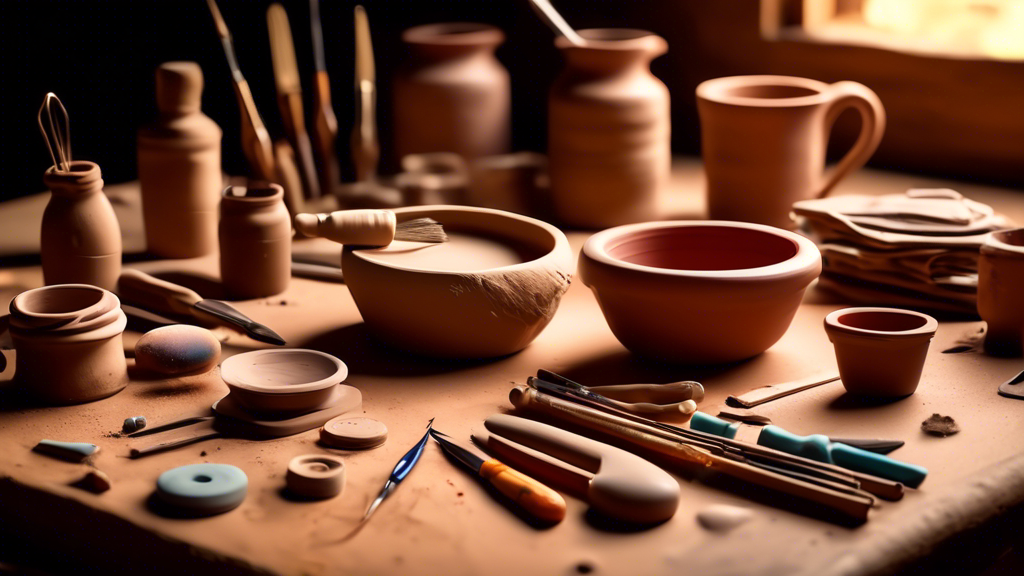
Crafting clay earrings is a delightful way to express your creativity and make personalized fashion statements. Whether you're a beginner or a seasoned jewelry maker, having the right tools can greatly enhance your crafting experience. This article curates a list of essential and advanced tools that will help you create exquisite clay earrings with ease and precision.
1. Polymer Clay
Starting with the basics, the first and most crucial material is polymer clay. Available in various colors, it’s pliable and easy to mold into different shapes. Brands like Sculpey, Fimo, and Kato offer high-quality polymer clay that bakes hard in a conventional oven.
2. Clay Conditioning Machine
Also known as a pasta machine, a clay conditioning machine is instrumental in rolling clay to a consistent thickness. It’s perfect for conditioning the clay, making it smoother and easier to work with while also helping in creating uniform sheets for layered designs.
3. Acrylic Roller
For those who prefer a manual touch, an acrylic roller is an indispensable tool. It’s excellent for flattening clay or creating a smooth surface, especially for smaller projects where a conditioning machine might not be necessary.
4. Cutting Blades and Shape Cutters
Precision cutting blades are necessary for trimming excess clay and achieving clean, sharp edges in your designs. Shape cutters are also a boon for beginners and professionals alike, enabling you to cut uniform shapes without hassle. From basic circles to intricate floral designs, there’s a vast array of cutter designs available.
5. Texture Sheets and Stamps
To add depth and interest to your earrings, texture sheets and stamps are fantastic. They come in various patterns and designs, such as florals, geometrics, and abstract textures, allowing you to imprint detailed patterns onto your clay easily.
6. Needle Tool and Sculpting Tools
A needle tool is vital for creating holes in your earrings for jump rings. It also assists in adding fine details and textures. Sculpting tools, on the other hand, are useful for more advanced shaping, smoothing, and carving intricate details into your designs.
7. Oven for Baking
An essential step in making clay earrings is curing the clay, which is often done in a conventional oven or a toaster oven dedicated to crafts. It’s crucial to follow the clay manufacturer's baking instructions closely to ensure your creations are durable.
8. Sanding and Buffing Tools
Sanding tools help in smoothing out any rough edges or surfaces after baking, resulting in a professional finish. Buffing tools, on the other hand, can give your earrings a glossy sheen without the need for a glaze.
9. Jewelry Hardware
To turn your clay creations into wearable earrings, you’ll need some basic jewelry hardware, including earring posts, jump rings, and pliers to assemble everything. Opt for hypoallergenic materials if possible, to make your earrings suitable for sensitive skin.
10. Finishing Touches: Glazes and Paints
For adding color accents or protecting your finished pieces, acrylic paints and glazes can be applied to polymer clay. They can enhance the vibrancy of your designs or add a glossy, matte, or satin finish based on your preference.
In conclusion, having the right set of tools can simplify the process of making clay earrings, making it more enjoyable and allowing for professional-quality results. While some tools are essential, others can be added to your collection as you explore and expand your crafting skills. Happy earring making!
Check out our 5-star rated DIY-toolkit here!