Getting Started with Clay Modeling at Home: A Beginner's Guide
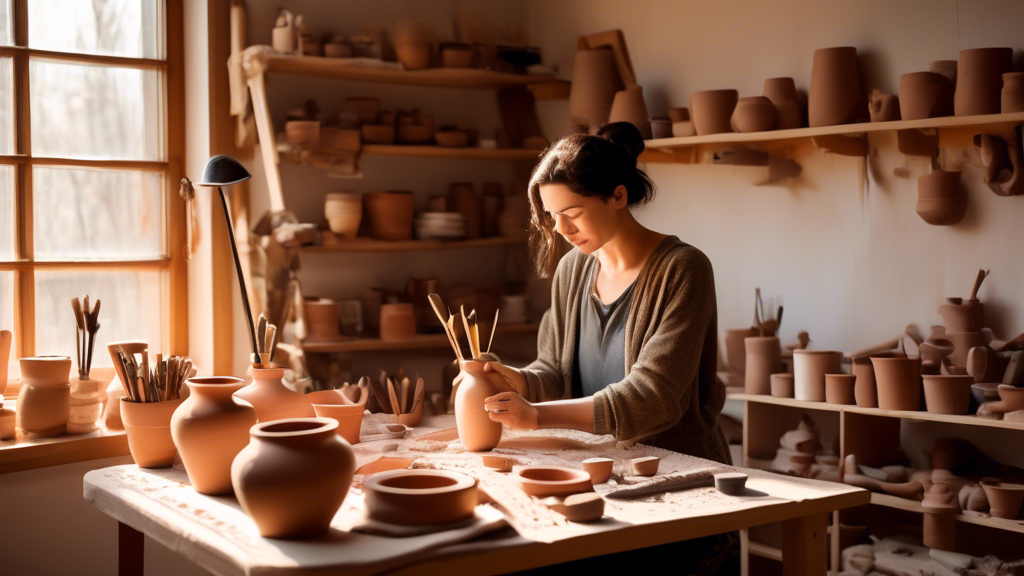
Clay modeling is an ancient form of art that has been practiced for centuries, offering a creative outlet that is both therapeutic and fulfilling. Whether you're interested in sculpting, pottery, or creating decorative items, getting started with clay modeling at home can seem daunting at first. However, with the right tools, materials, and a bit of patience, you can embark on this artistic journey and discover the joy of bringing your ideas to life in three dimensions. This beginner's guide will walk you through the basics of getting started with clay modeling at home. The first step in your clay modeling journey is selecting the appropriate type of clay. There are several options available, each with its own characteristics and uses: While clay modeling can be done with just your hands and creativity, certain tools can make the process smoother and more enjoyable. These are some basic tools you might consider getting started with: Choose a dedicated workspace that's easy to clean, as clay can be messy. Cover your work surface with a non-stick mat or wax paper to prevent the clay from sticking. Keeping your tools organized and within reach will also help maintain a streamlined workflow. If you’re working with types of clay that need to be fired, ensure you have access to a kiln or find a local studio that offers kiln services. Starting with simple projects will help you get comfortable with the material. Try these basic techniques to familiarize yourself with clay: As with any form of art, practice is key to mastering clay modeling. Don’t be discouraged by initial mistakes or imperfections; every project is a learning experience. Keep experimenting with different techniques and styles to discover what you enjoy most. Clay modeling at home offers a unique opportunity to unleash your creativity and produce tangible art pieces you can be proud of. By understanding the basics of clay types, assembling a simple toolkit, and practicing fundamental techniques, you'll be well on your way to developing your skills as a clay artist. Remember, the most important aspects of clay modeling are patience, practice, and, most importantly, enjoying the process.Introduction to Clay Modeling
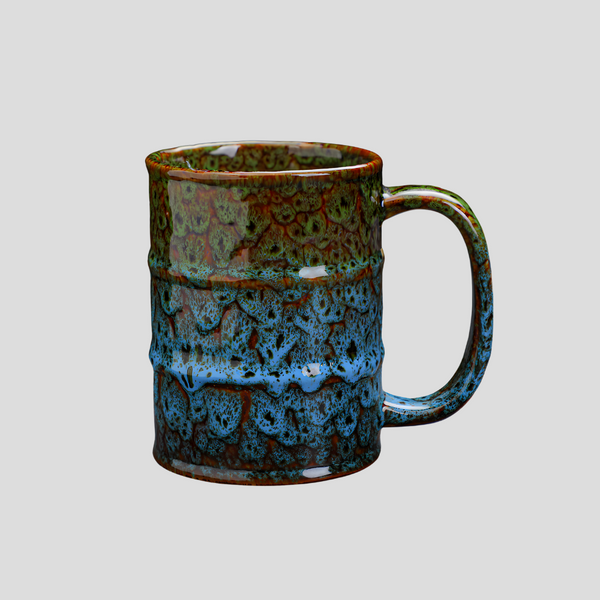
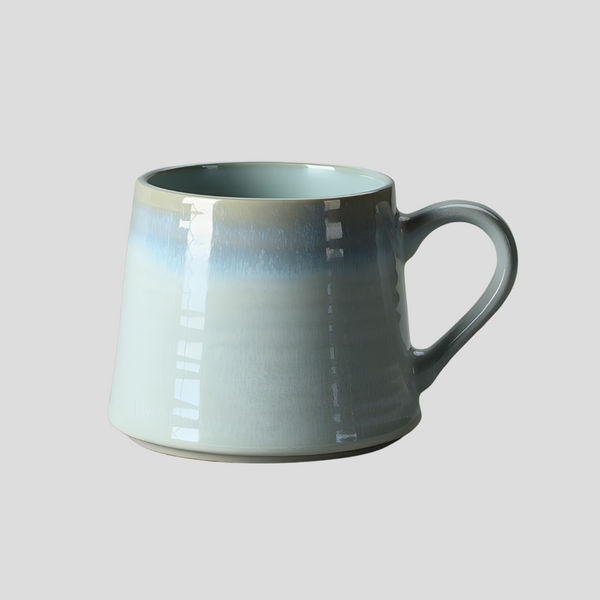
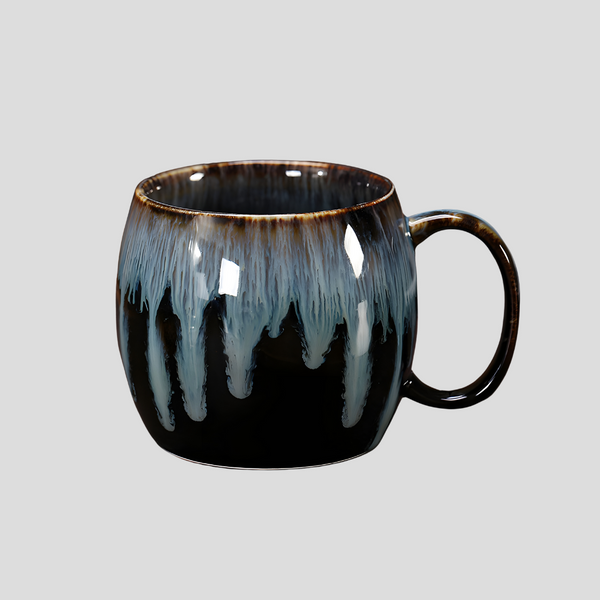
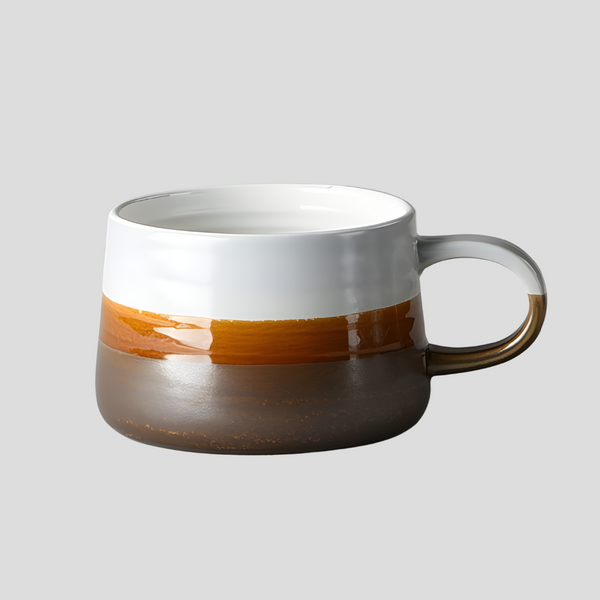
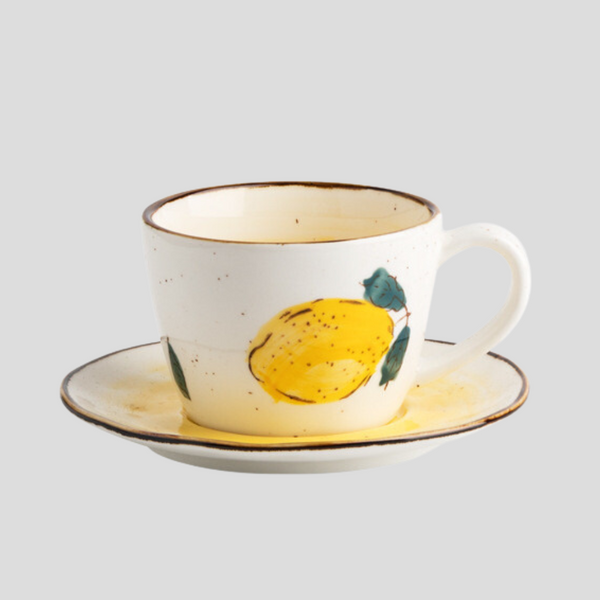
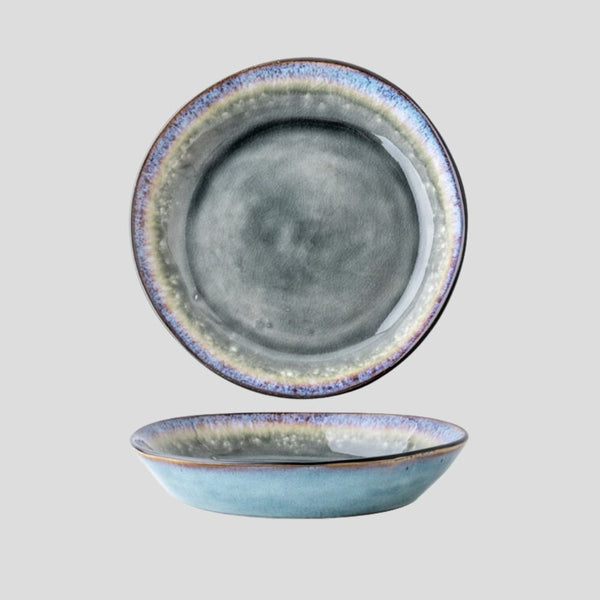
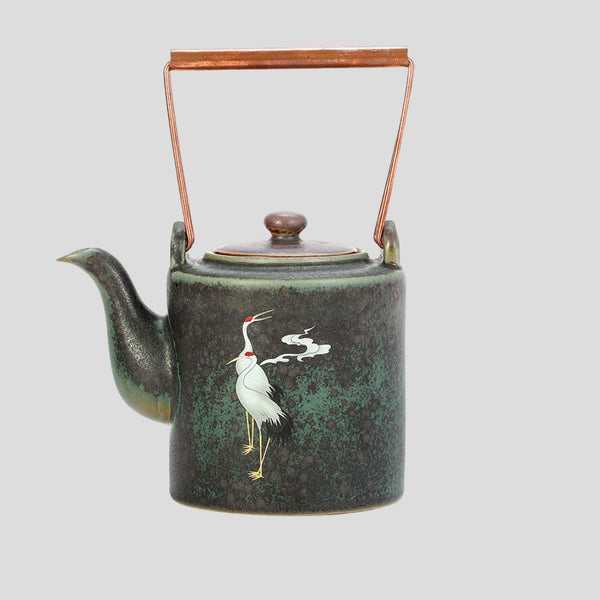
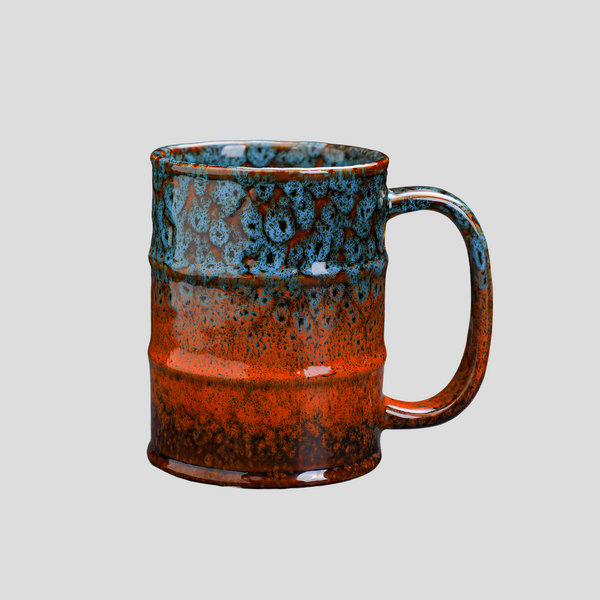
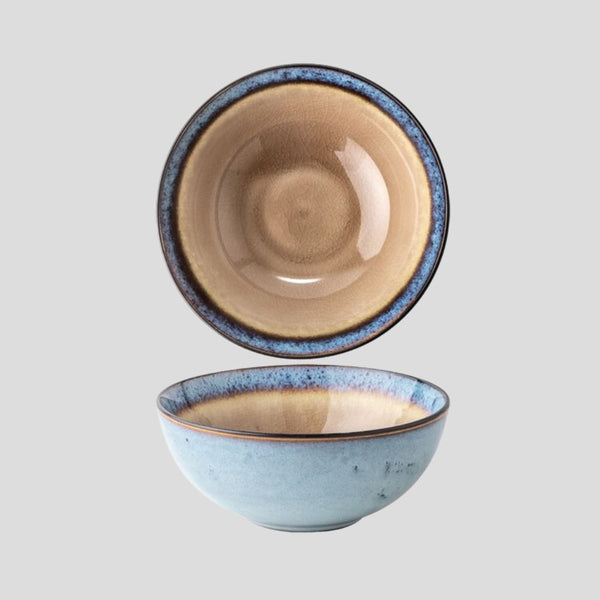
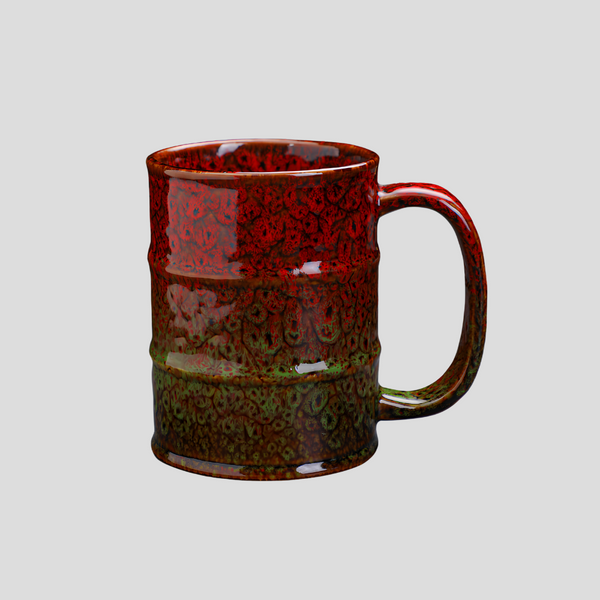
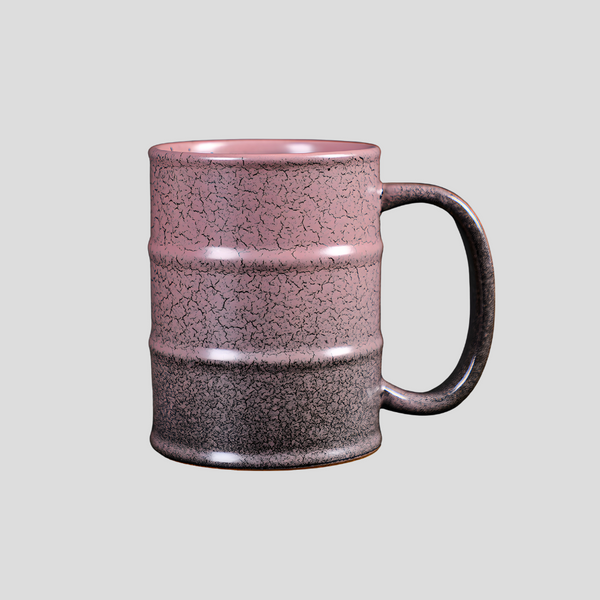
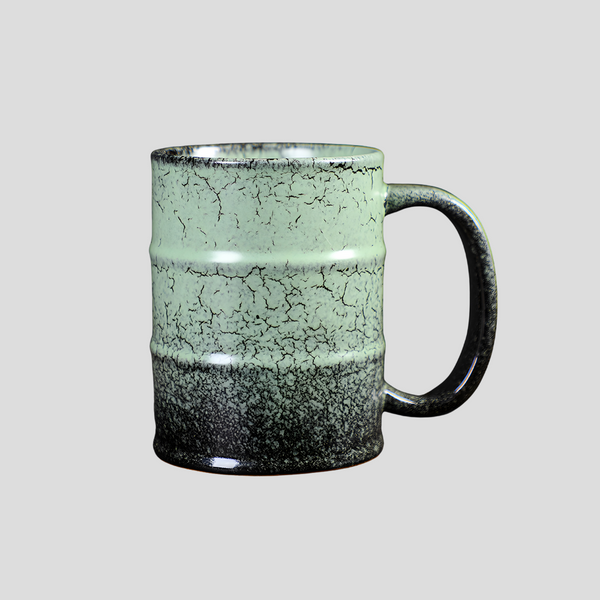
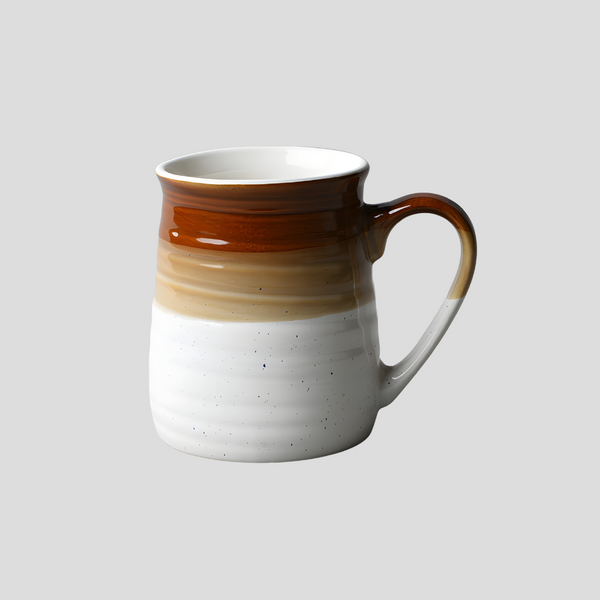
Choosing the Right Clay
Essential Tools for Beginners
Preparing Your Workspace
Basic Techniques to Get You Started
Practice and Patience
Conclusion