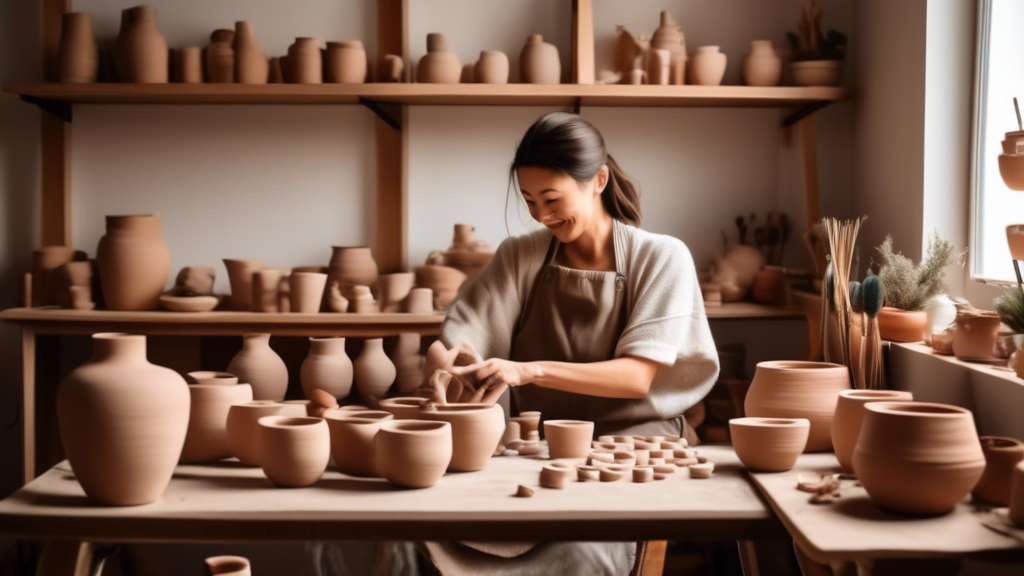
Creating your own pottery pieces at home can be a rewarding and therapeutic hobby. Whether you want to make custom dishes, art pieces, or gifts, DIY pottery gives you the opportunity to express yourself creatively and unwind in the process. This beginner's guide will cover the basic steps and tips you need to start crafting your own pottery at home.
Getting Started: Essential Tools and Materials
The first step to embark on your pottery journey is gathering the necessary tools and materials. Here's a checklist to get you started:
Clay: There are several types of clay to choose from, including earthenware, stoneware, and porcelain. For beginners, earthenware or a low-fire clay is often recommended as it's easier to work with.
Potter's Wheel: While not strictly necessary for hand-building techniques, a potter's wheel is essential for throwing pottery.
Rolling Pin & Wooden Boards: For flattening clay and working on your projects.
Slip: A liquid form of clay used as a glue to attach pieces of clay together.
Modeling Tools: These can include knives, ribbon tools, loop tools, and sponges for shaping and smoothing your creations.
Kiln: For firing your pottery. Tabletop electric kilns are a good option for beginners and can be used in a home setting.
Basic Pottery Techniques
There are several techniques you can use to shape your pottery, each offering a unique finish:
Pinching: A simple method where you start with a ball of clay and use your fingers to pinch and form it into a desired shape. This is great for making small pots or vessels.
Coiling: This involves rolling out long strands of clay and layering them to build up the walls of a pot or other object. Coiling is versatile and suitable for creating various sizes and shapes.
Slab Building: In this technique, you'll roll out flat pieces of clay and cut them into shapes that are then joined together. It's ideal for making angular pieces like square vases or plates.
Throwing: Throwing on a potter's wheel allows for the creation of symmetrical pieces. It requires practice to master but can be very satisfying.
Drying and Firing Your Pottery
Once your piece is shaped, it needs to dry thoroughly before it can be fired. This can take several days depending on the thickness of the clay and the humidity levels. It's crucial to ensure that your pottery is bone dry to prevent it from exploding in the kiln. After drying, your pottery is ready to be bisque fired, transforming it from clay to ceramic. The final step is glazing your pottery, which involves applying a coat of glaze that will melt in the kiln, giving your piece a glass-like surface.
Tips for Success
Here are some tips to help you get the most out of your DIY pottery experience:
Be patient: Pottery takes time to learn, and your first few attempts might not be perfect. Enjoy the process and be patient with yourself.
Learn from mistakes: Every mistake is an opportunity to learn and improve. Don't be afraid to experiment.
Join a community: Joining a local pottery class or online forum can provide valuable support, inspiration, and tips.
Watch tutorials: There are plenty of online tutorials that can guide you through different pottery techniques and projects.
DIY pottery at home can be deeply satisfying, offering a creative outlet that produces tangible, usable art. With patience and practice, you'll soon be crafting pottery pieces that you can be proud of. So, gather your materials, and let's get those hands dirty!