Pottery Without a Kiln: A Beginner's Guide
Exploring the World of Pottery Without a Kiln
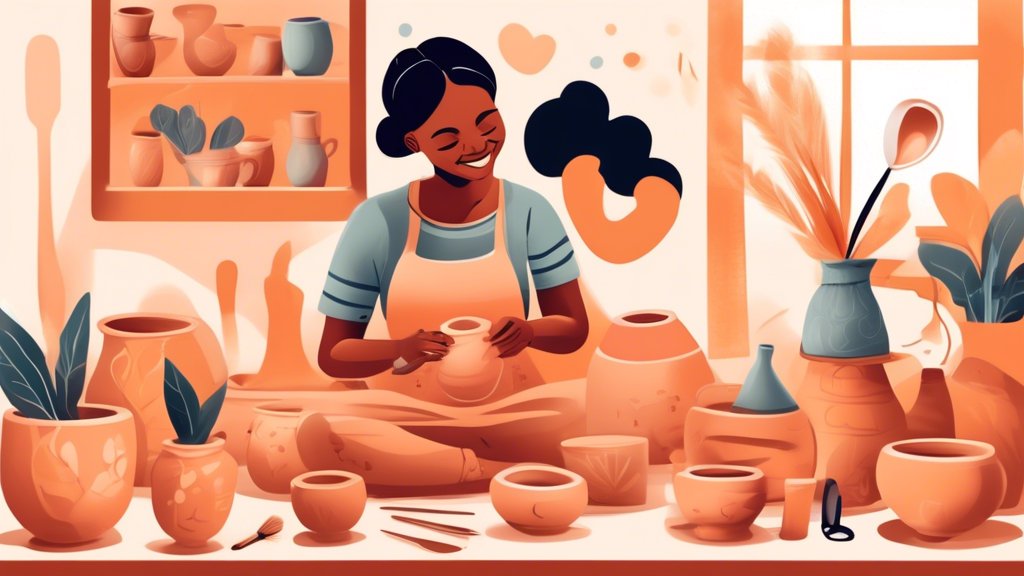
Engaging in pottery without access to a kiln might initially seem limiting, but it actually opens up a realm of creativity and convenience for beginners. The traditional pottery process involves shaping clay into desired forms and then subjecting these creations to the high temperature of a kiln to harden and finish them. However, not everyone has the space, resources, or desire to invest in a kiln when they are just starting out. Fortunately, there are several alternative methods to explore that allow beginners to create beautiful pottery pieces without a kiln.
Choosing the Right Clay
The first step in pottery without a kiln is selecting the appropriate type of clay. Air-dry clay and polymer clay are two popular options that cater to kiln-free pottery making. Air-dry clay, as the name suggests, dries and hardens when exposed to air over a span of a few days. Polymer clay hardens when baked in a conventional oven at a much lower temperature than that of a kiln. Both types offer a good starting point for beginners looking to experiment with pottery.
Shaping Your Creation
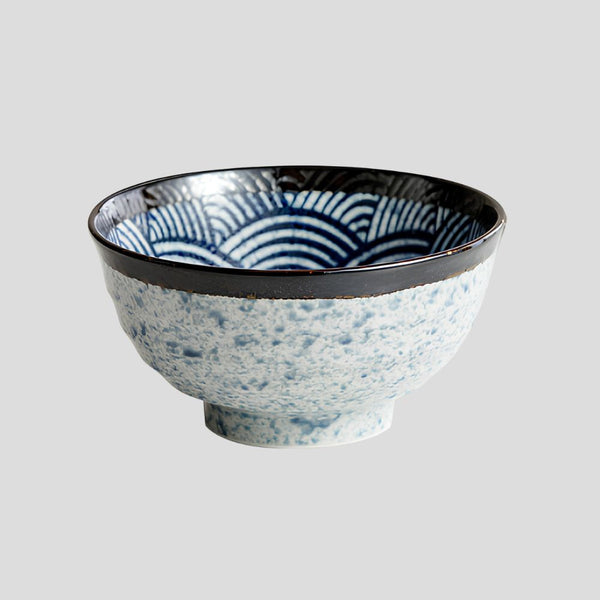
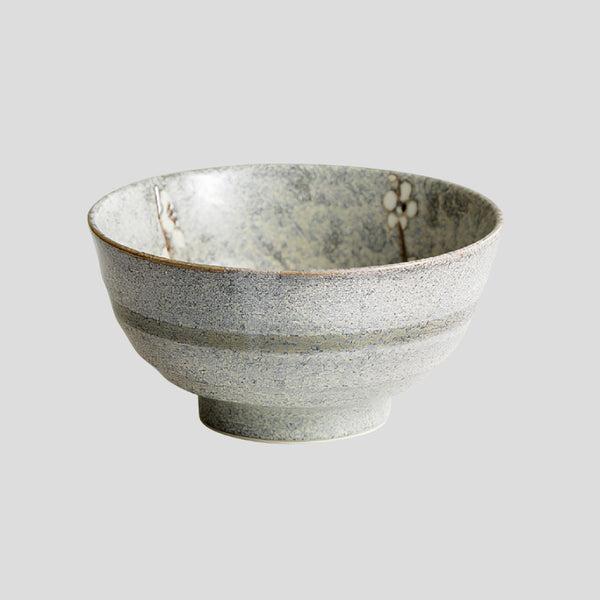
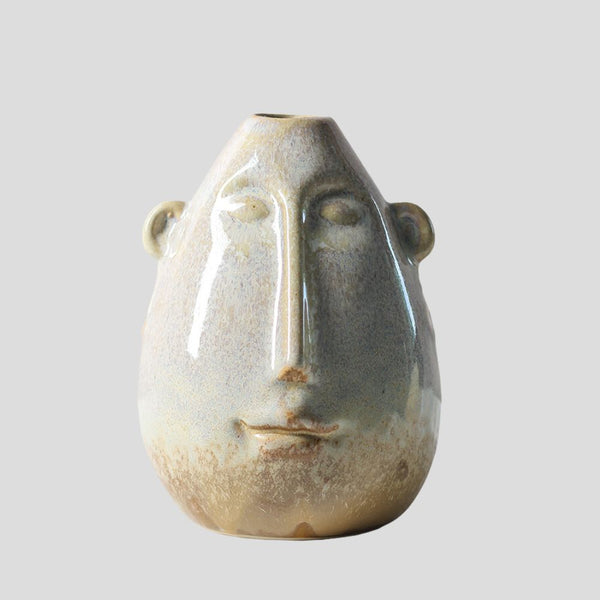
Once you've chosen your clay, the next step is to shape it into your desired form. This can be anything from simple bowls and vases to more intricate figurines and jewelry. You can use pottery tools and techniques such as coiling, pinching, and slab building to shape your piece. Remember to work on a clean surface and keep your hands and tools moist to prevent the clay from drying out too quickly.
Drying and Hardening Your Piece
After shaping your clay, it needs to dry thoroughly. For air-dry clay, this means leaving it undisturbed in a well-ventilated area for several days until it's completely dry. The drying time will vary depending on the thickness and size of your piece. Once dry, air-dry clay pieces will be hard and ready for painting or sealing.
Polymer clay, on the other hand, requires baking to harden. Follow the manufacturer's instructions carefully, as the temperature and baking time might vary. Typically, polymer clay pieces are baked in a home oven at a low temperature for a specific duration. After cooling, your polymer clay piece will be hard and durable.
Decorating Your Pottery
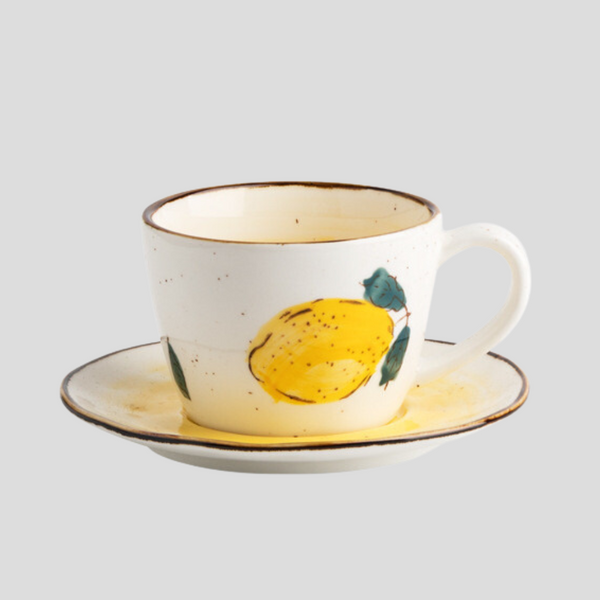
The final step in the kiln-free pottery process is decorating your creation. Acrylic paints work well on both air-dry and baked polymer clay. You can also utilize pottery glazes that do not require firing in a kiln for air-dry clay to achieve a glossy finish. Once painted or glazed, applying a sealant will help protect your piece and give it a polished look.
Conclusion
Pottery without a kiln offers a world of opportunity for beginners to explore their creativity without the need for heavy equipment. By choosing the right clay, shaping with care, and following proper drying or baking procedures, anyone can create beautiful pottery pieces at home. Whether you're making gifts, decorative items, or just experimenting for fun, kiln-free pottery is an accessible and rewarding craft to take up.
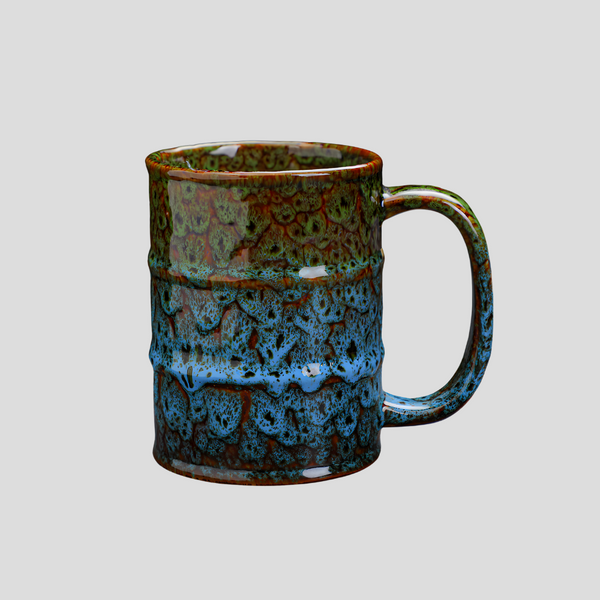
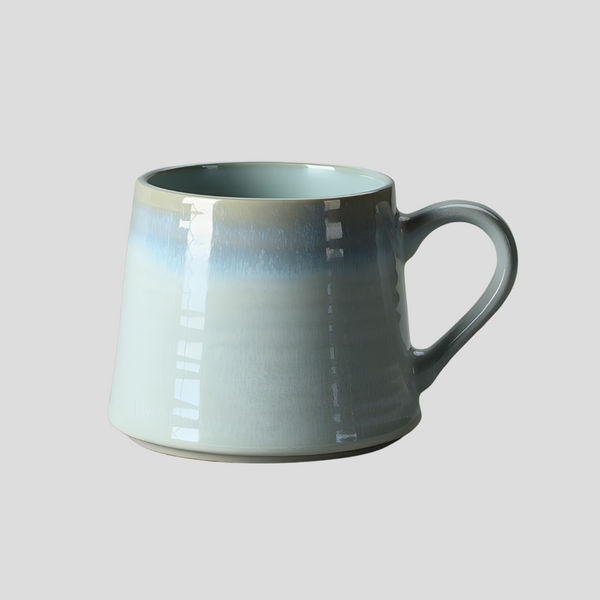
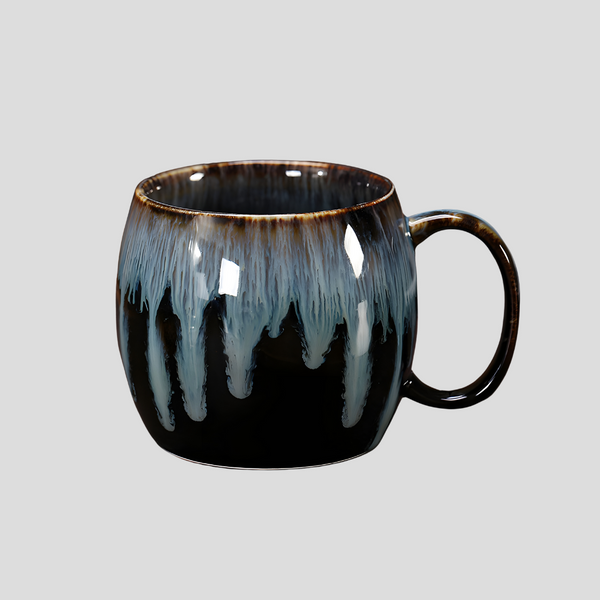
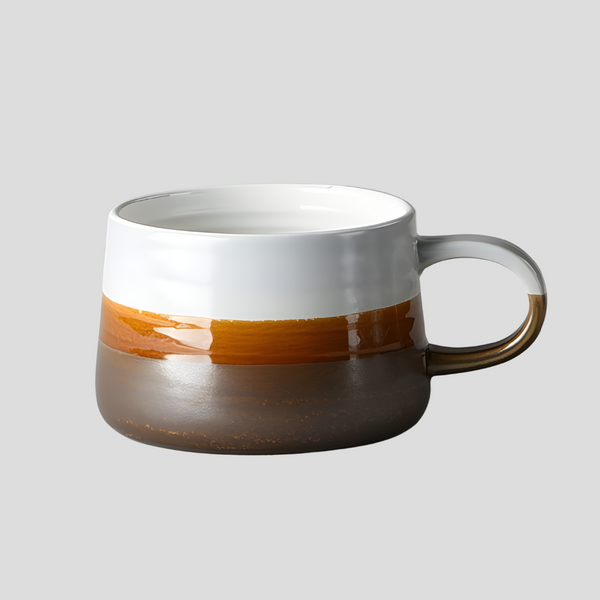
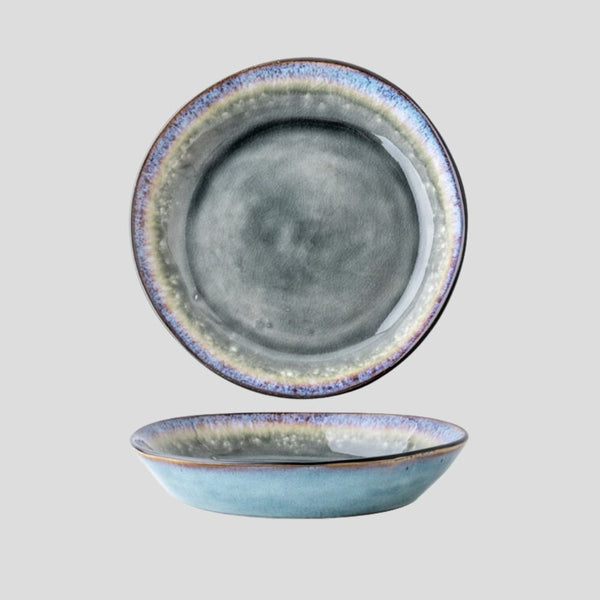
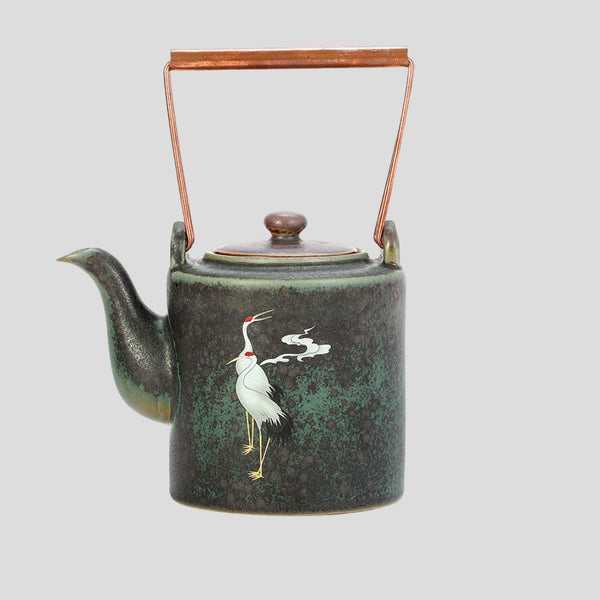
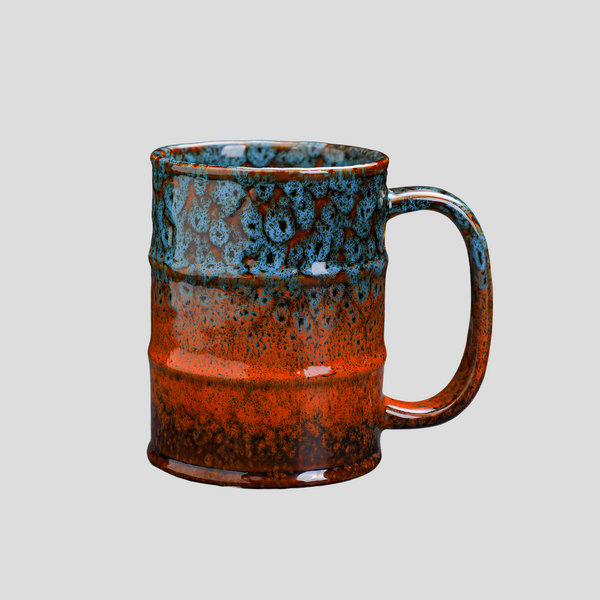
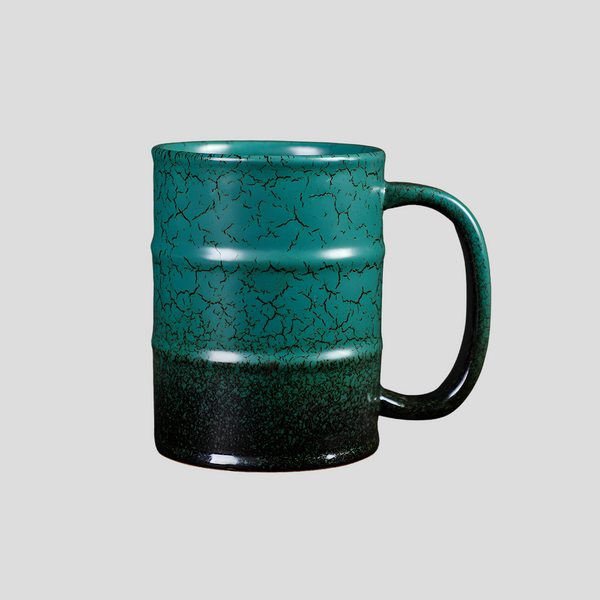
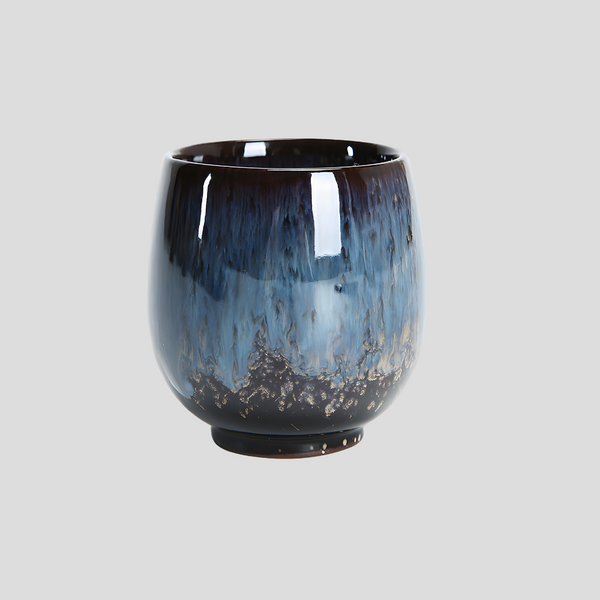
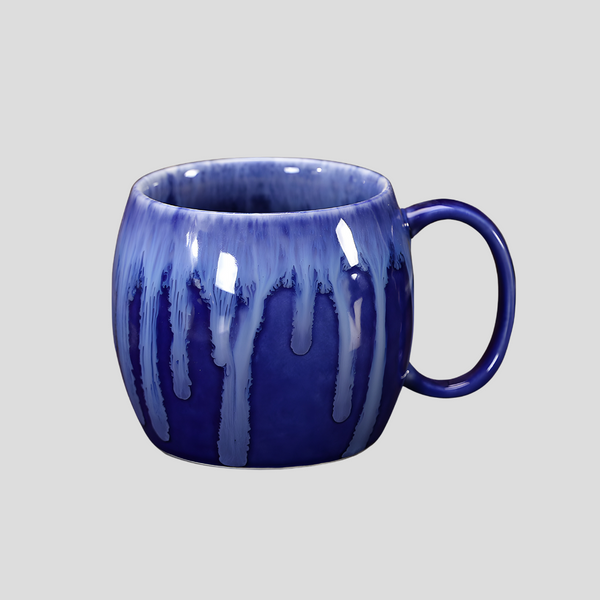
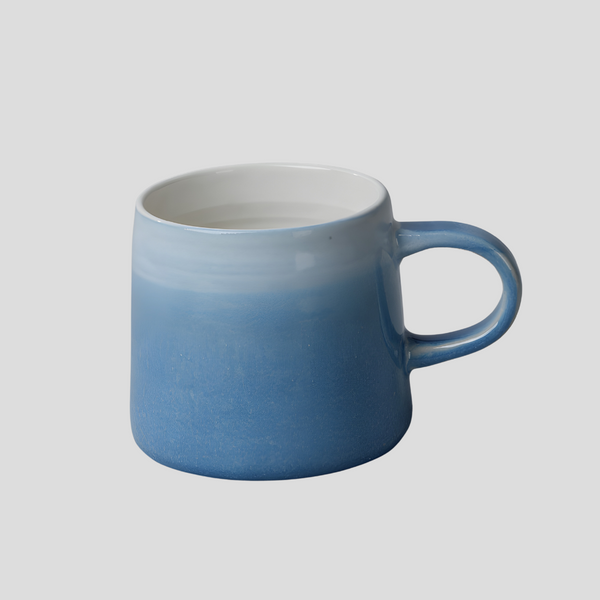
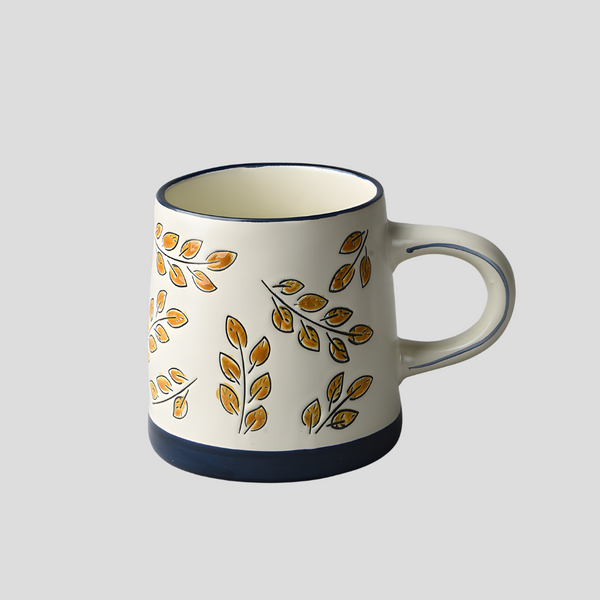
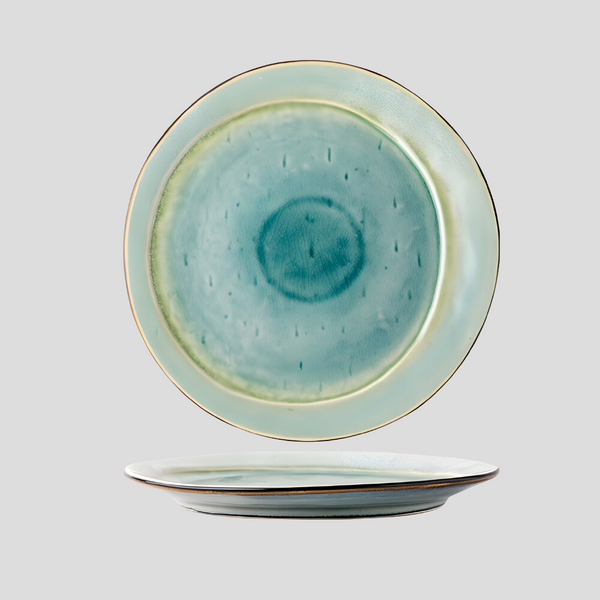
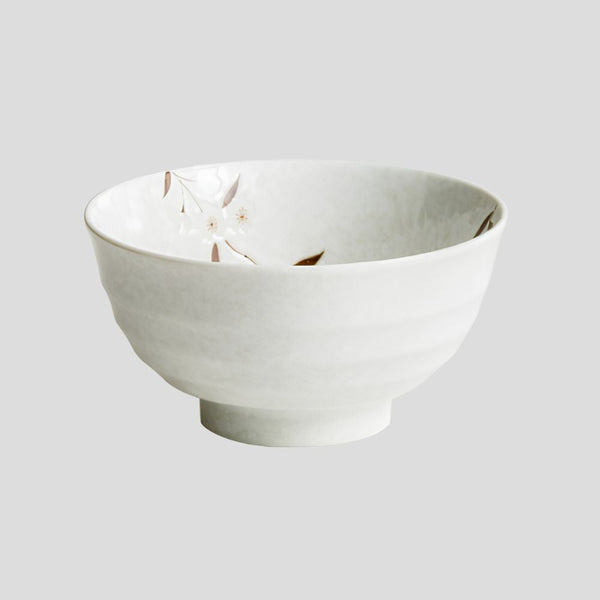
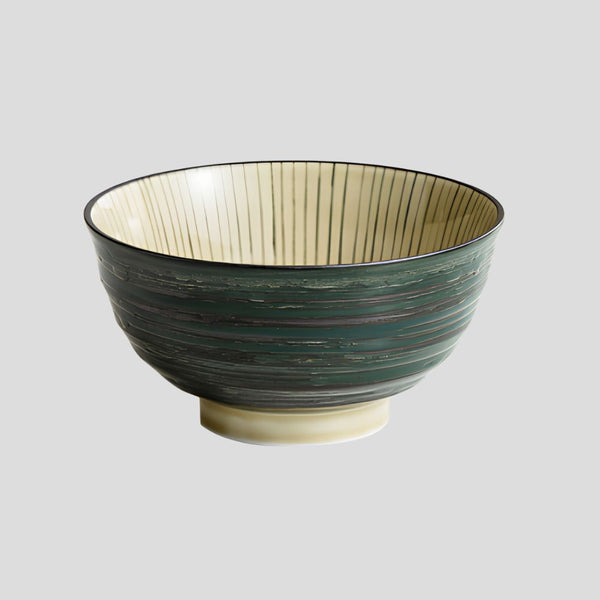
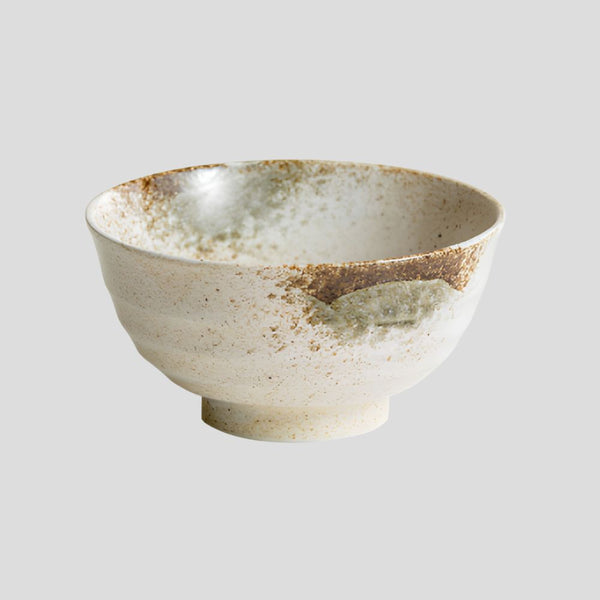
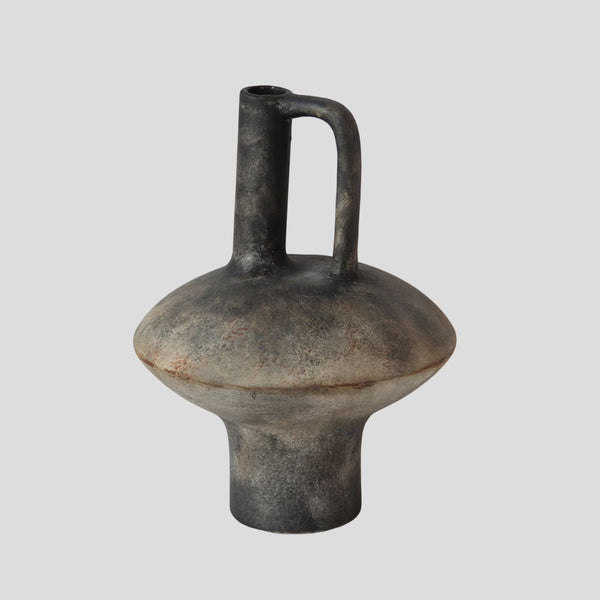
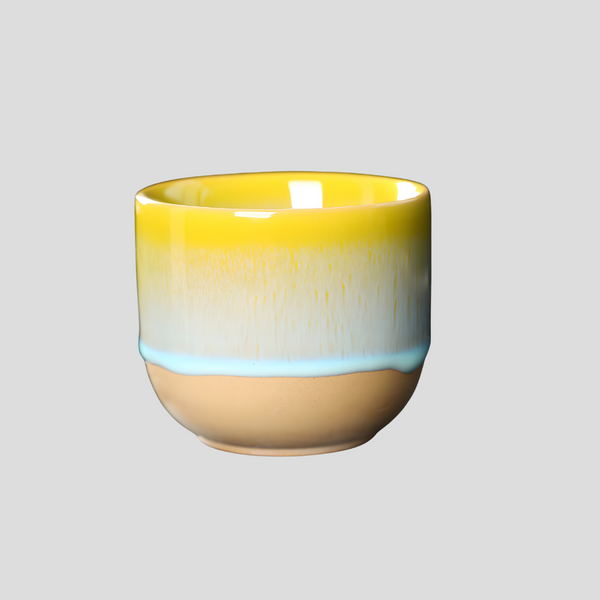
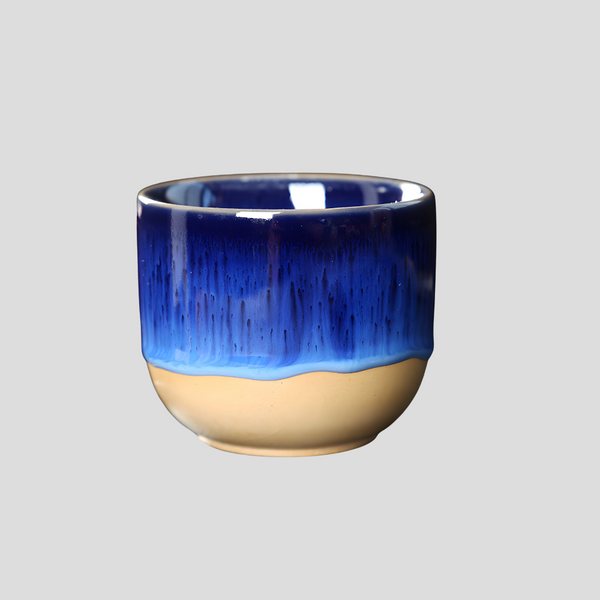
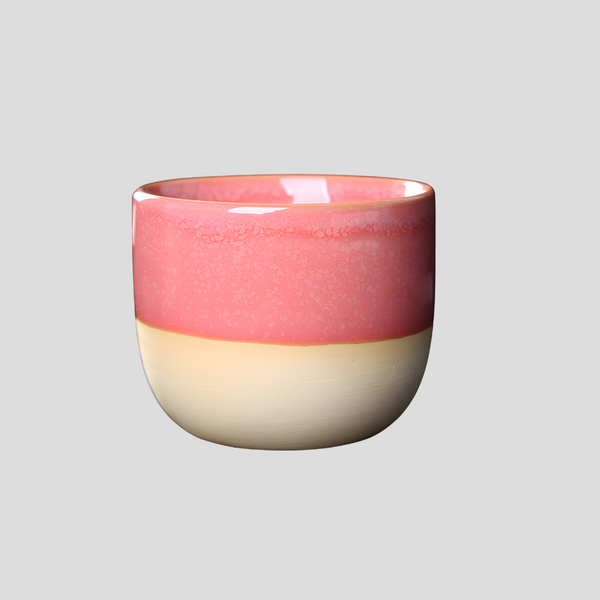
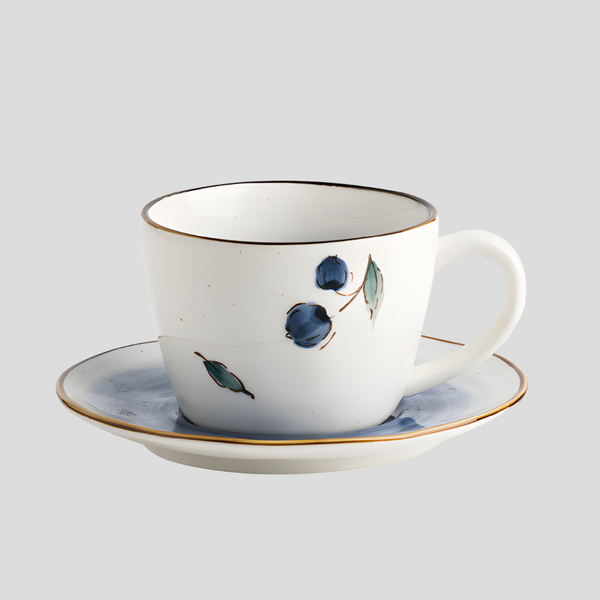
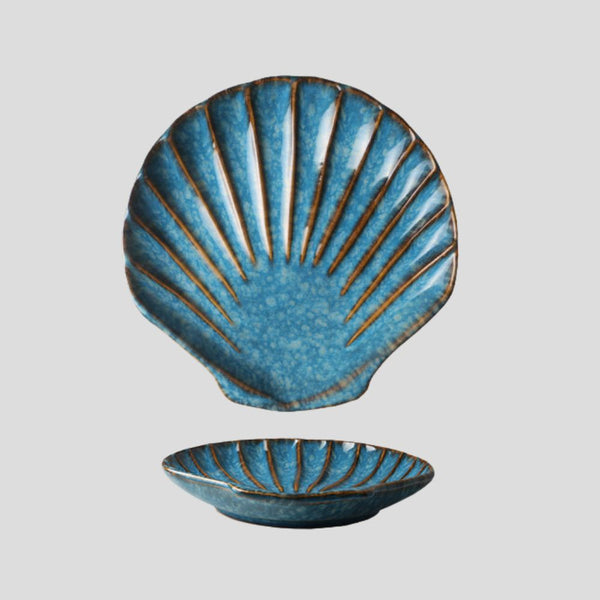
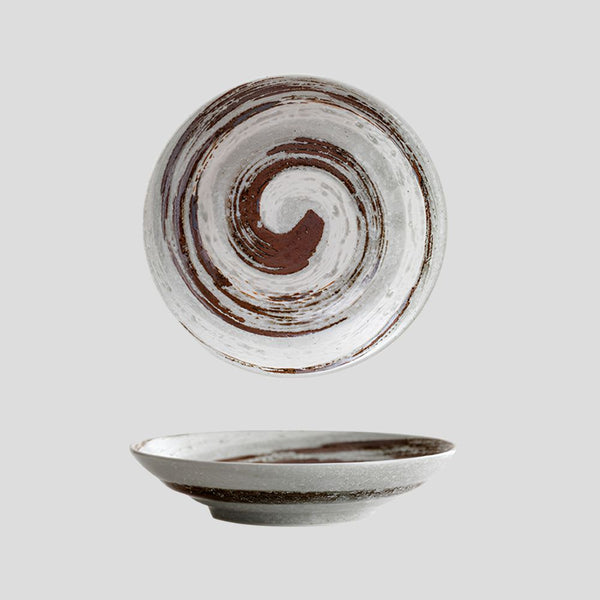
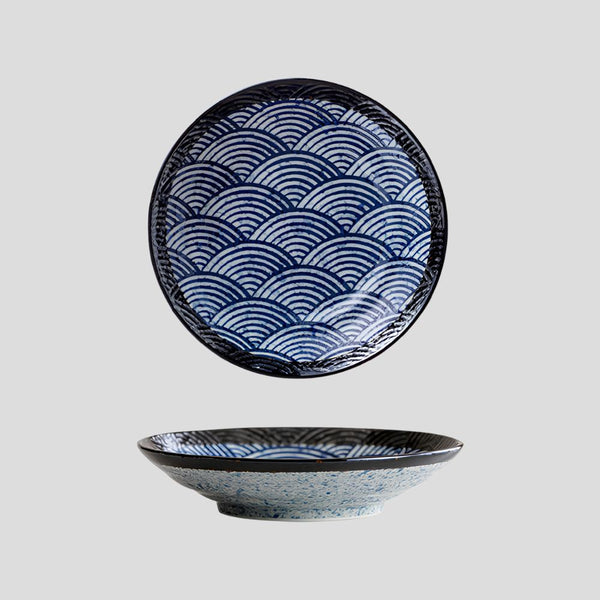
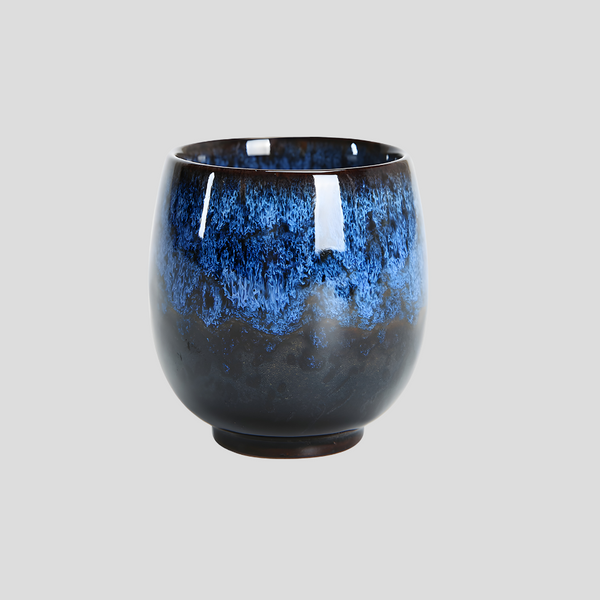
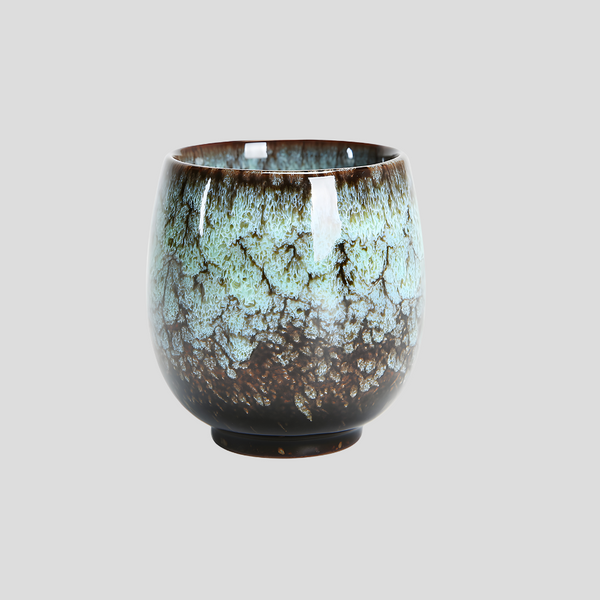
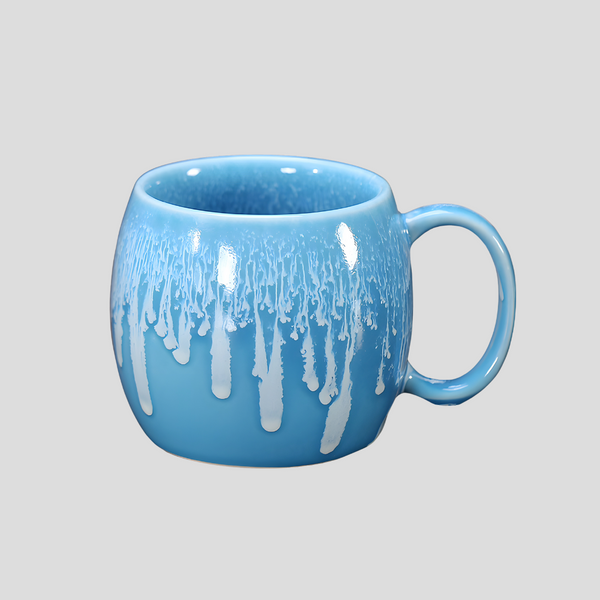
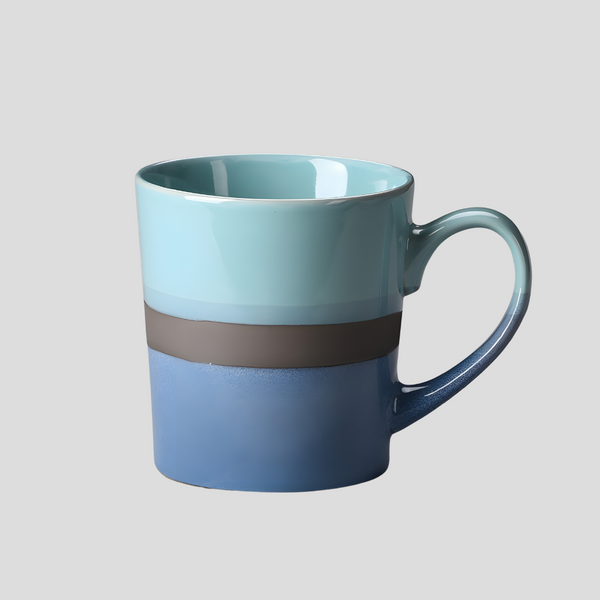
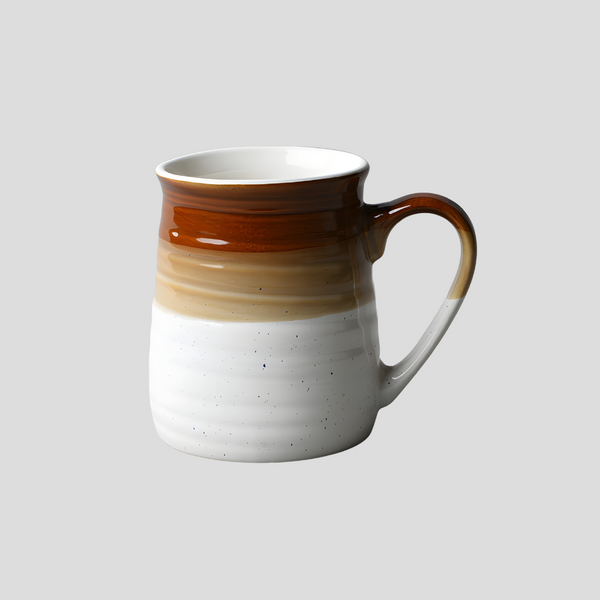
Click this link to check out our ceramic artwork!