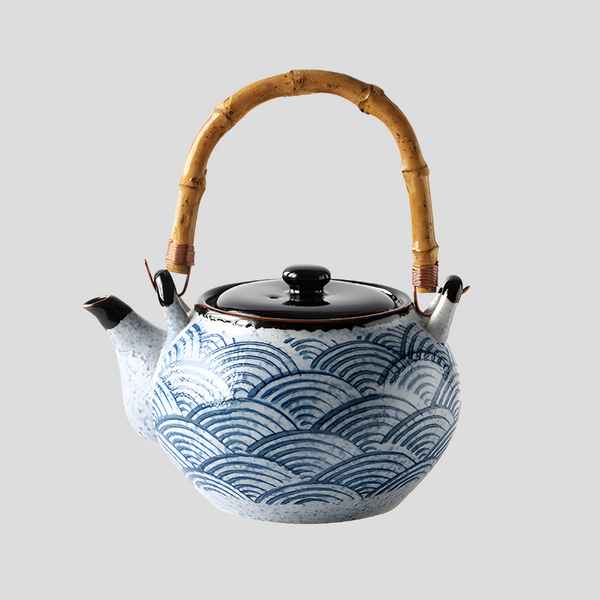
Essential Steps in the Pottery Making Process
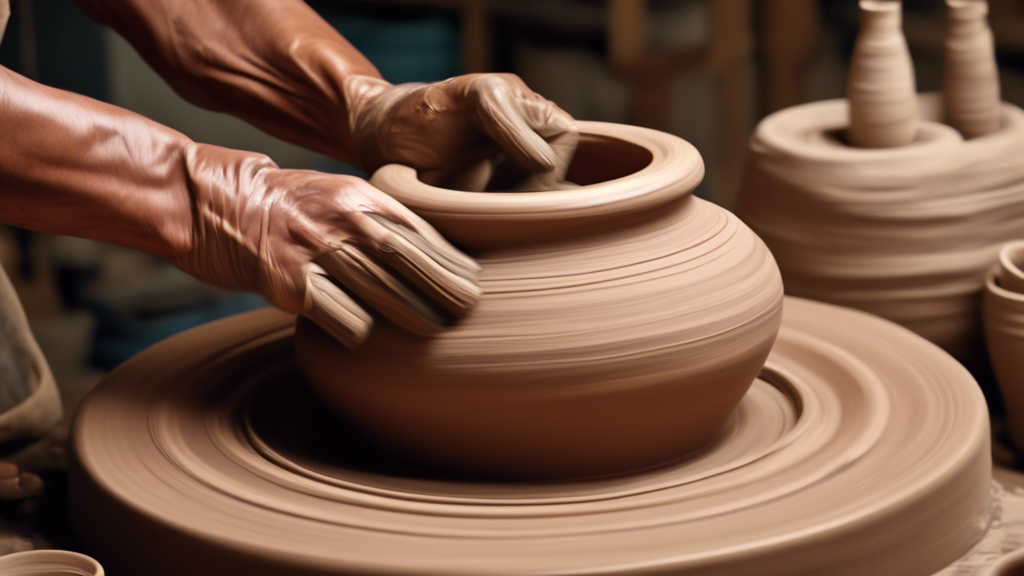
The art of pottery making is a time-honored craft that fuses elements of earth, water, and fire to create functional and decorative items. The process involves several essential steps, each adding its own unique contribution to the final piece. Whether you are a novice just starting out or an experienced potter looking to refine your skills, understanding these fundamental stages is crucial. Here's a guide through the primary phases of the pottery making process. The first step in pottery making is preparing the clay, the raw material from which your pottery will be made. This involves wedging, a process similar to kneading dough, which removes air bubbles and ensures the clay is of a consistent texture. Properly prepared clay is essential for creating durable and well-formed pottery pieces. Once the clay is prepared, the next step is to shape it. This can be done through either throwing on a potter's wheel or hand-building. Throwing clay involves placing a lump of clay on a spinning potter's wheel and shaping it with your hands as it rotates. It requires skill and practice to center and shape the clay into desired forms such as bowls, vases, or plates. For those not using a wheel, hand-building techniques such as pinching, coiling, and slab building offer alternative methods for shaping clay. These methods can produce unique textures and forms not achievable with wheel throwing. After the initial shaping, the pottery must be allowed to dry to a leather-hard stage. At this point, it is firm enough to handle but still malleable enough for trimming and further refining. This might include removing excess clay, refining shapes, or adding decorative elements. The next step is the bisque firing, where the dried pottery is placed in a kiln and fired at a low temperature. This firing hardens the clay and prepares it for glazing. Bisque firing transforms the pottery from clay to ceramic, making it porous and ready to absorb glazes effectively. Glazing involves coating the bisque-fired ceramics with a mixture of silica, fluxes, and colorants. Once applied, the glaze fuses to the pottery when it is fired again, creating a glass-like surface that is decorative, waterproof, and food safe. Glazing can be applied through various techniques such as dipping, pouring, or brushing, allowing for endless creative finishes. The glaze-coated pottery goes through a second firing at a higher temperature. This process melts the glaze onto the pottery, creating a smooth and durable surface. The temperature and duration of this firing depend on the type of clay and glaze used but are crucial for the final appearance and strength of the piece. After the glaze firing, the pottery must slowly cool inside the kiln. Rapid cooling can cause the pottery to crack or shatter. Once cooled, the final product emerges, showcasing the combined efforts of the potter’s craftsmanship and the transformative power of fire. Final touches can include polishing, adding decals, or applying lusters, depending on the desired finish. Pottery making is a practice that requires patience, skill, and a deep connection to the materials. Each step in the process, from preparing the clay to the final firing, plays a vital role in creating the final piece. Whether you are creating functional items or decorative works of art, the journey of transforming simple clay into durable ceramics is a rewarding experience that harks back to ancient traditions.Step 1: Preparing the Clay
Step 2: Throwing or Hand-Building
Throwing on a Pottery Wheel
Hand-Building Techniques
Step 3: Drying and Trimming
Step 4: Bisque Firing
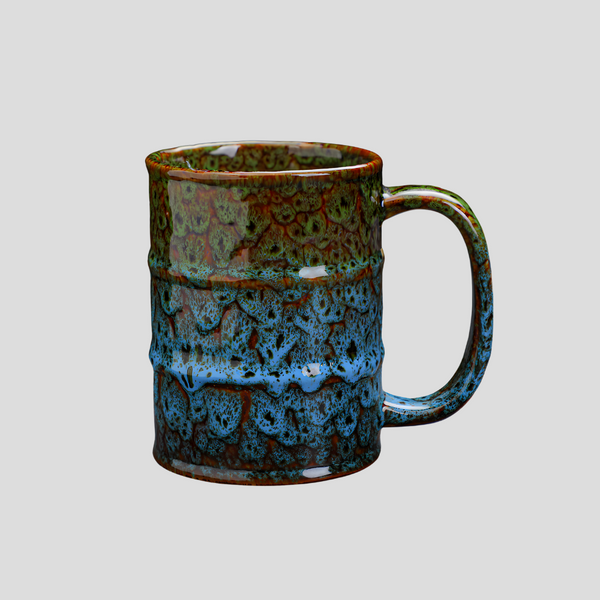
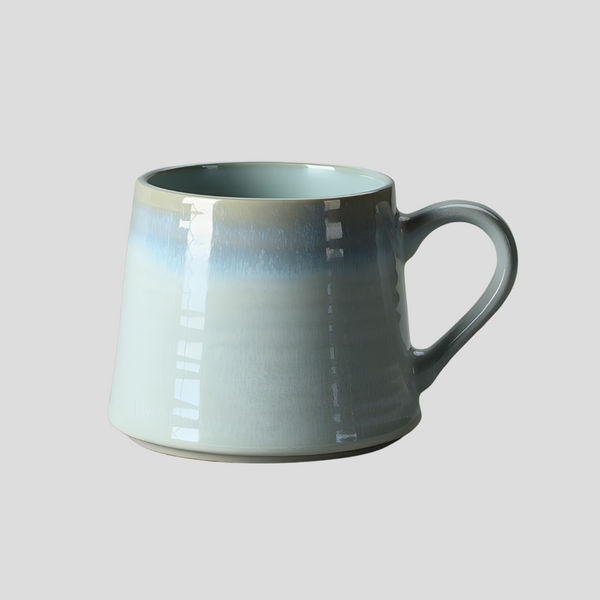
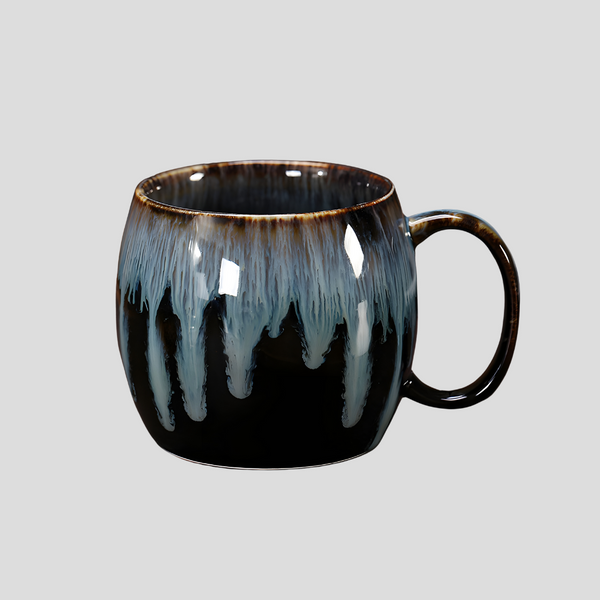
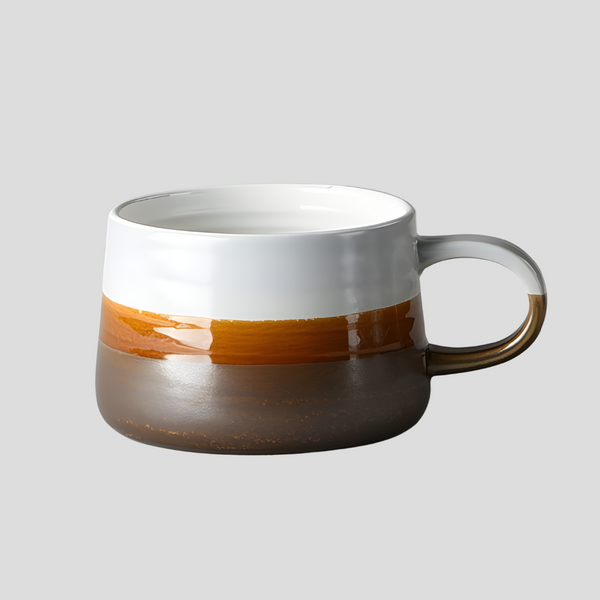
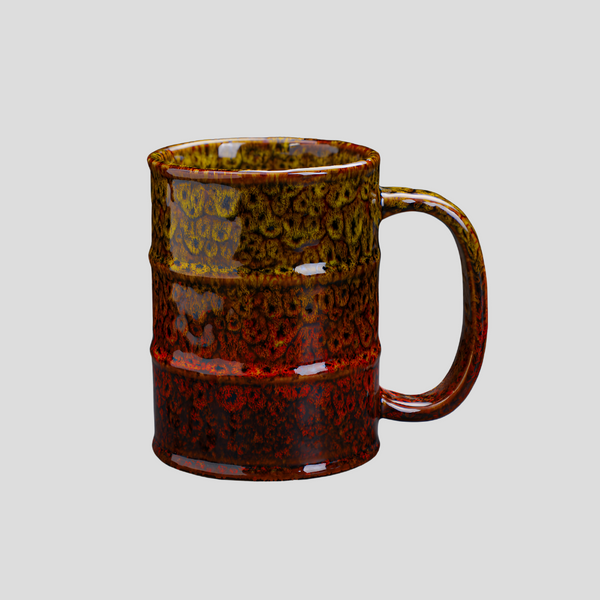
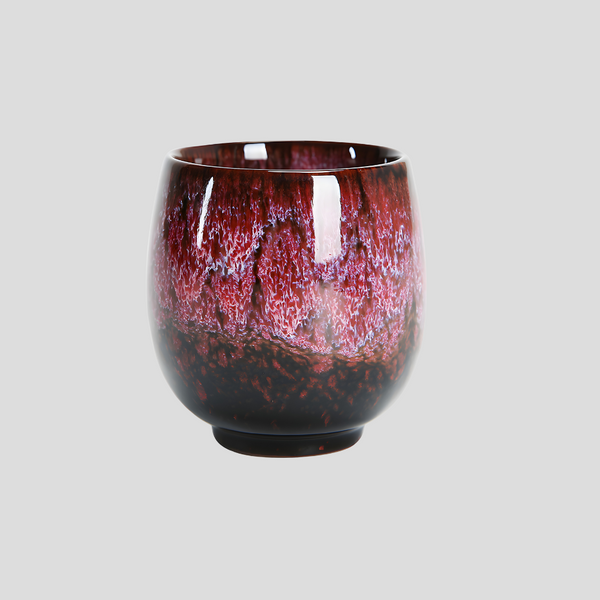
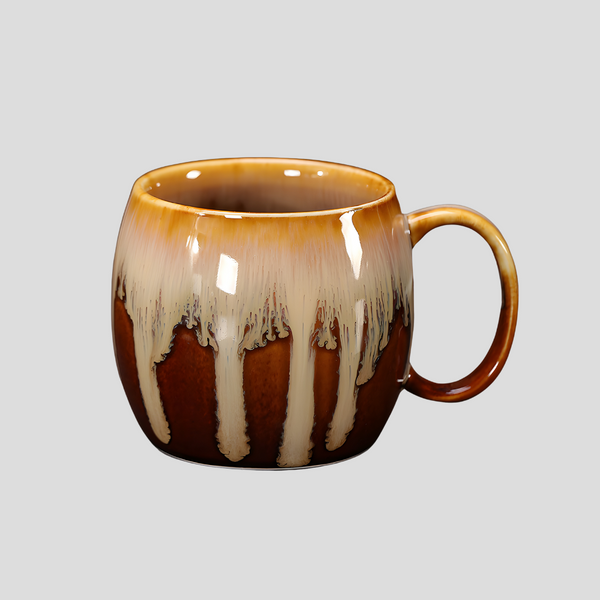
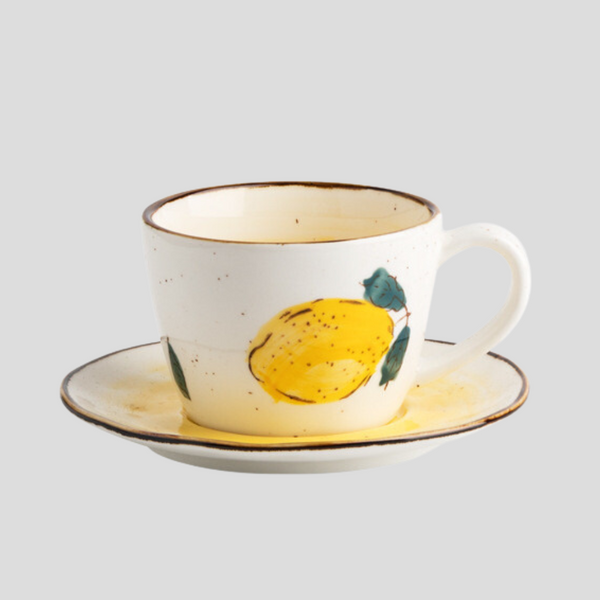
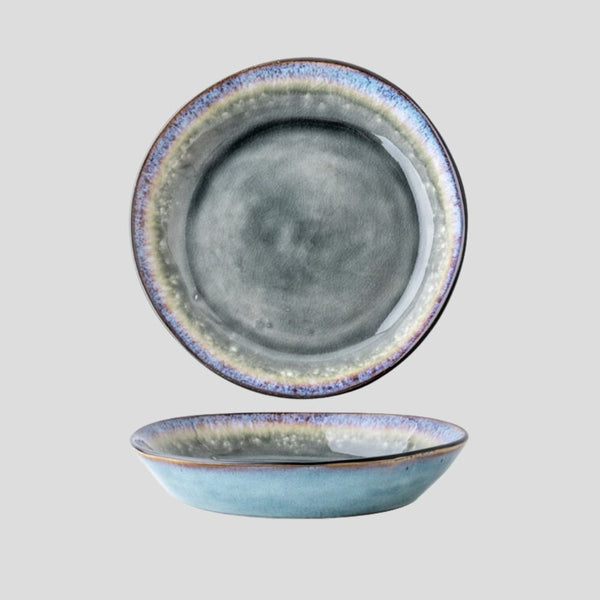
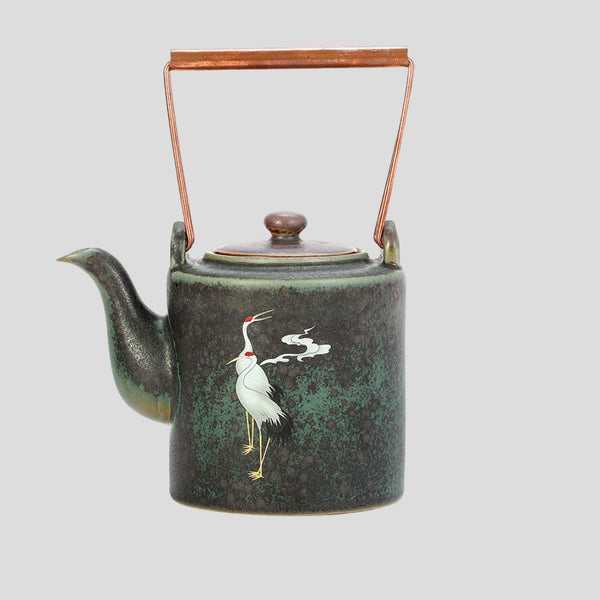
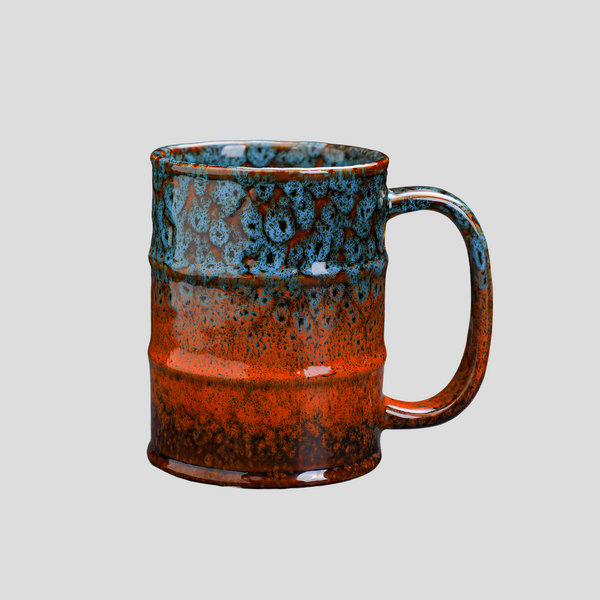
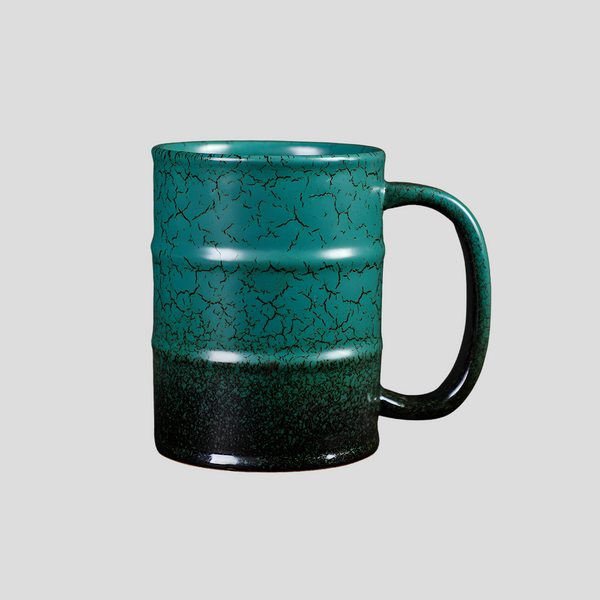
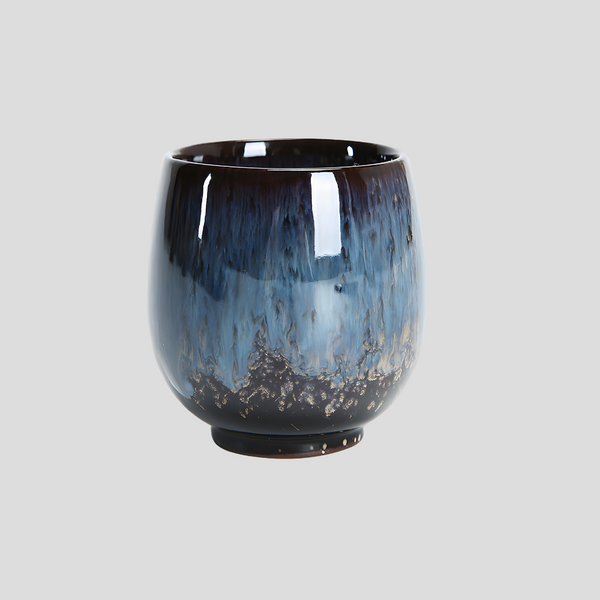
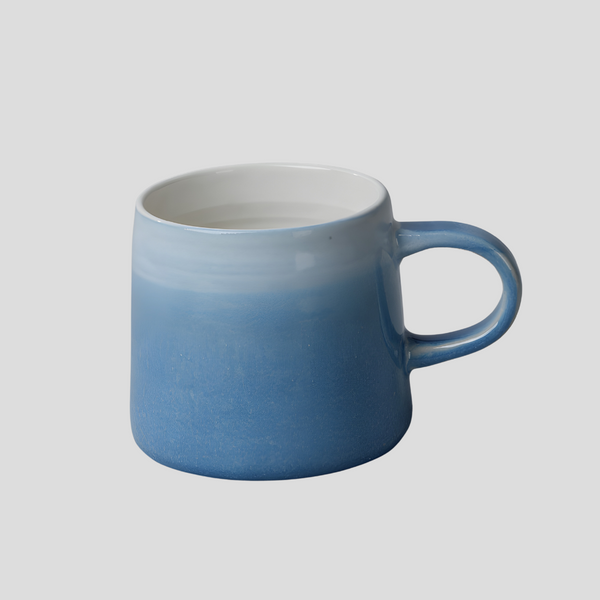
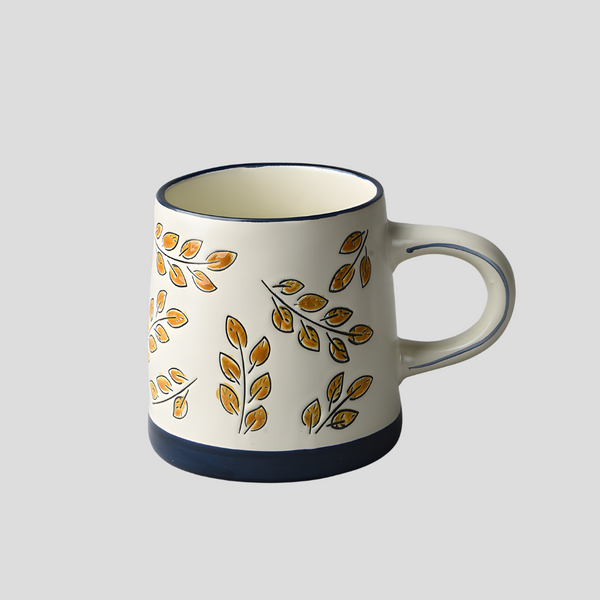
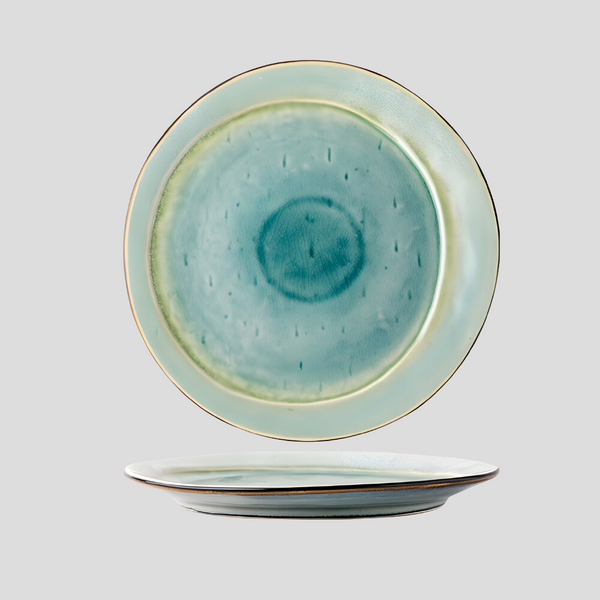
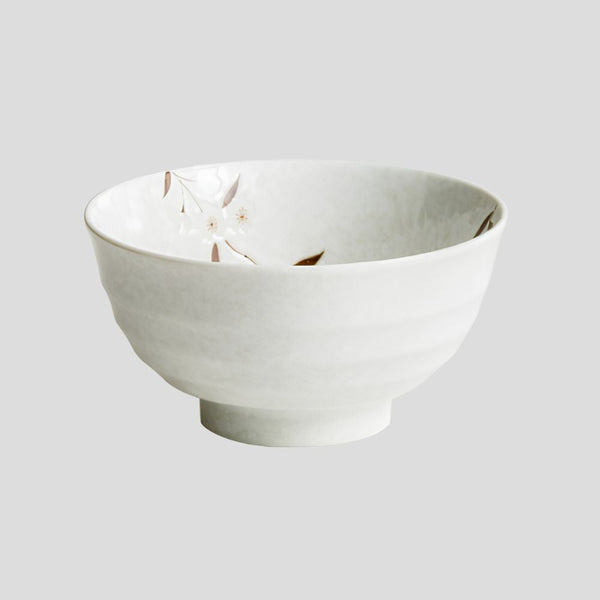
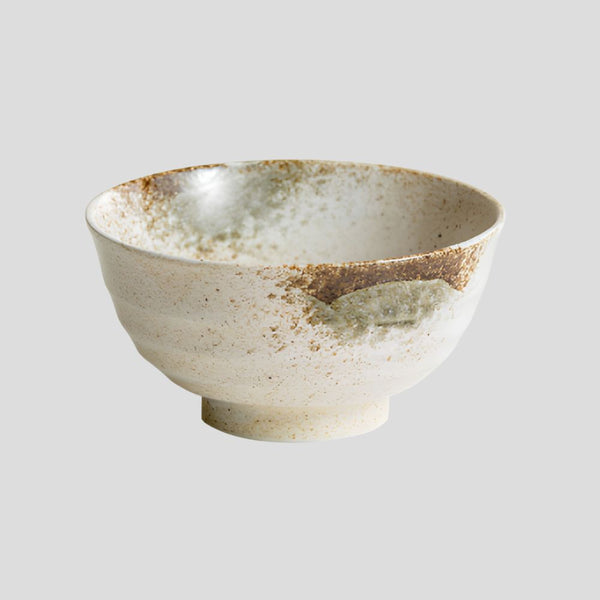
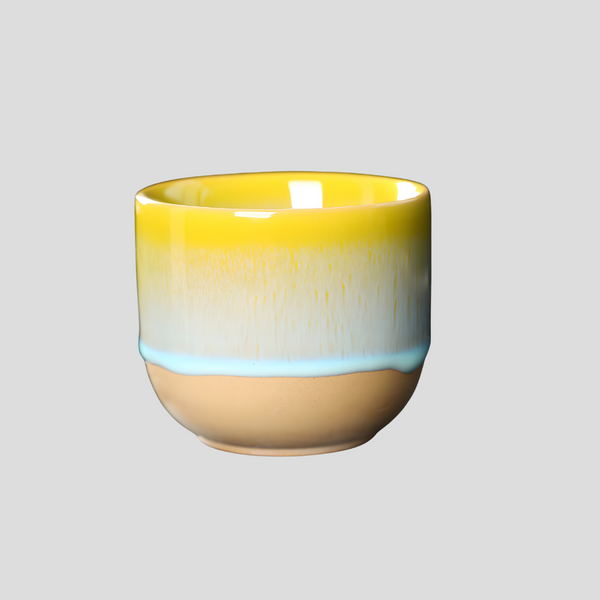
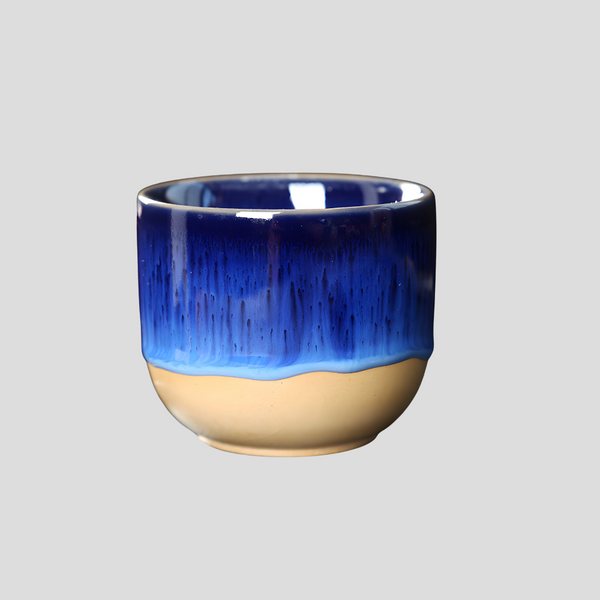
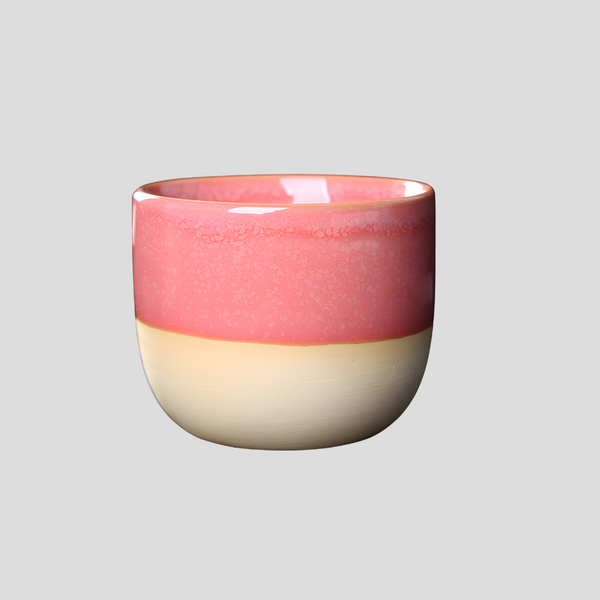
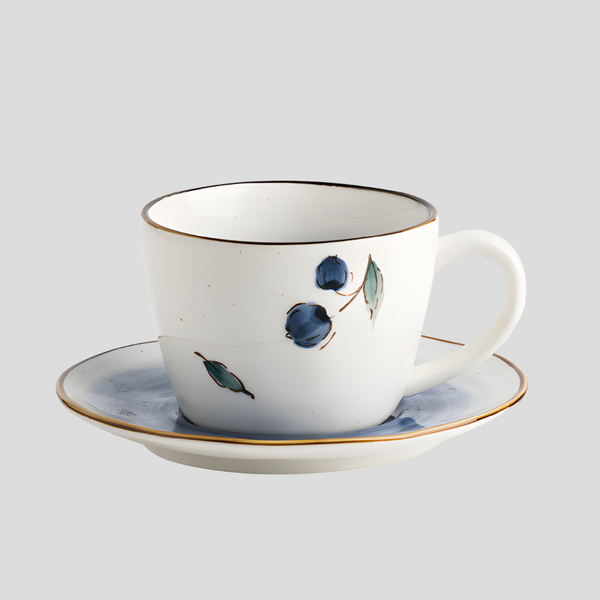
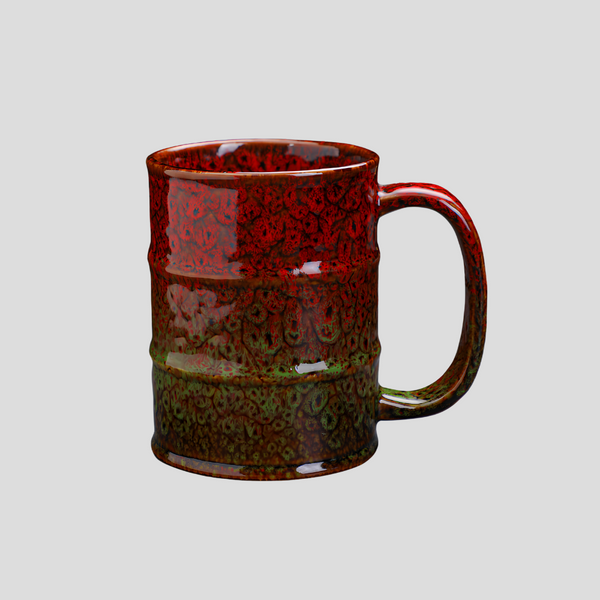
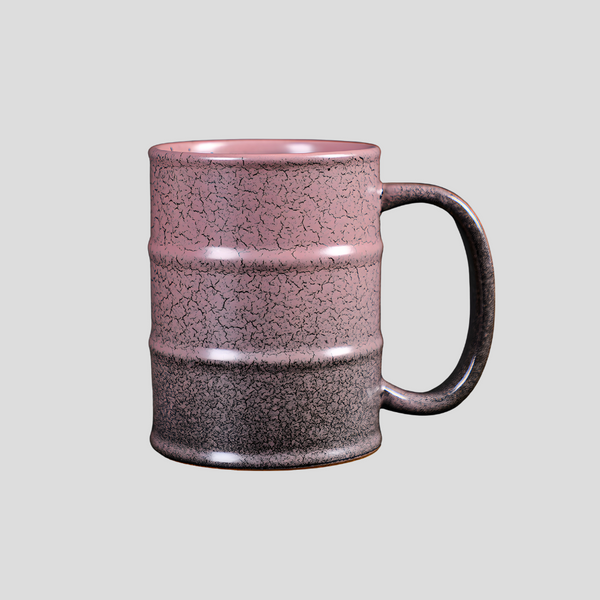
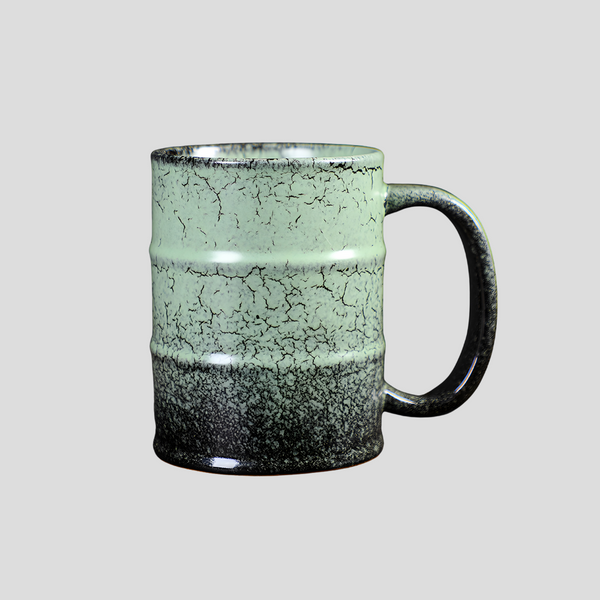
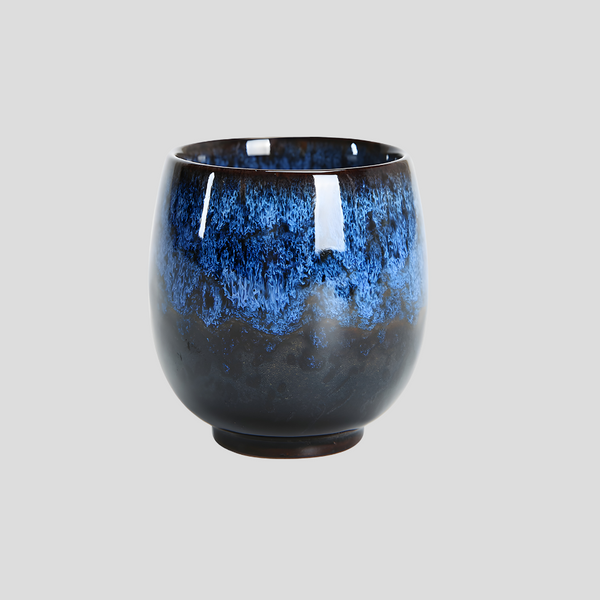
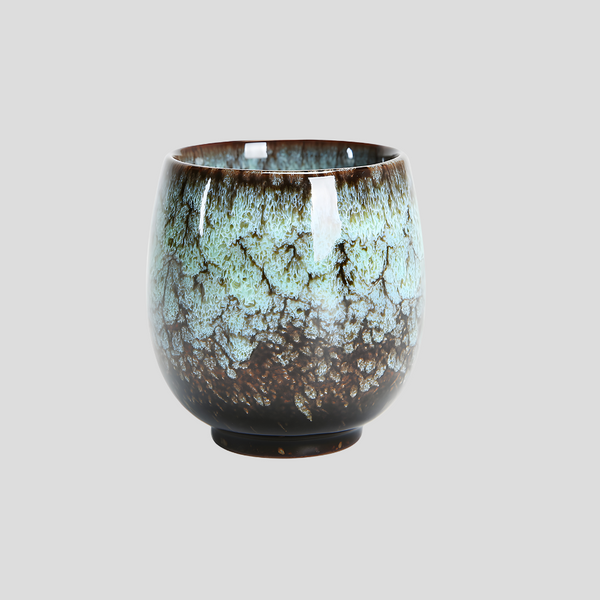
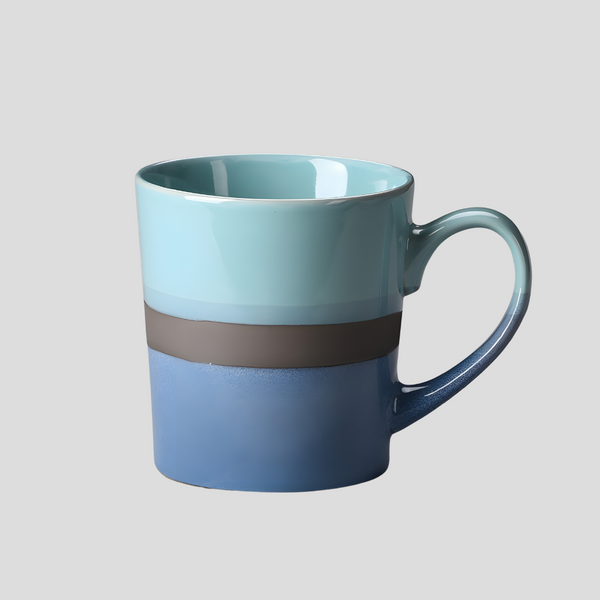
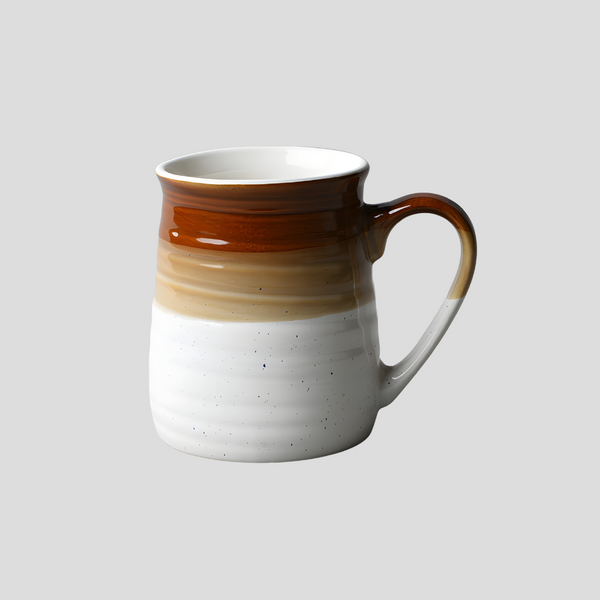
Step 5: Glazing
Step 6: Glaze Firing
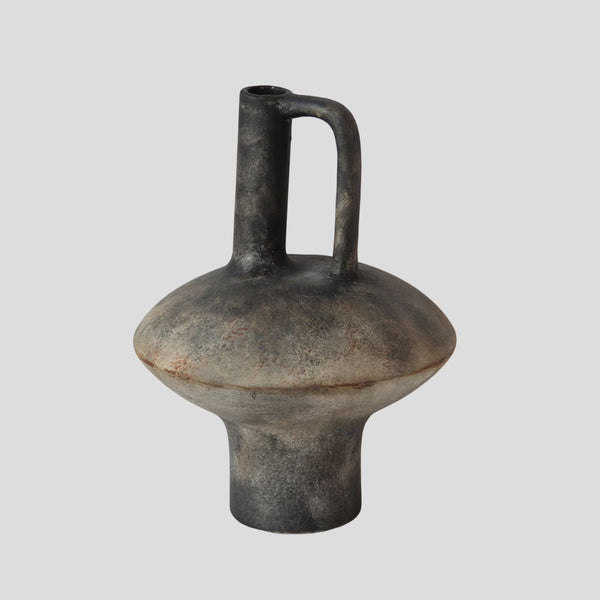
Step 7: Cooling and Finishing Touches