Basic Steps in Ceramics Making: A Beginner's Guide
Ceramics making is a time-honored craft that combines creativity, skill, and patience. Whether you're aspiring to create functional items like cups and plates or purely artistic sculptures, the process of transforming a lump of clay into a finished product is both rewarding and therapeutic. This beginner’s guide outlines the basic steps involved in ceramics making, offering a fundamental understanding of the craft. The first step in the ceramics process is selecting the right type of clay. There are several varieties, including earthenware, stoneware, and porcelain, each with different characteristics and firing temperatures. Earthenware is great for beginners due to its forgiving nature and lower firing temperature. However, the choice of clay largely depends on the desired finish and functionality of your final piece. Once you have your clay, the next step is to prepare it for shaping. This involves wedging the clay, a process similar to kneading dough, to remove air bubbles and achieve a uniform consistency. Properly wedged clay is crucial to avoid cracks and explosions in the kiln during firing. Shaping is where the real fun begins. There are several techniques to shape your clay, including hand-building and throwing on a potter’s wheel.
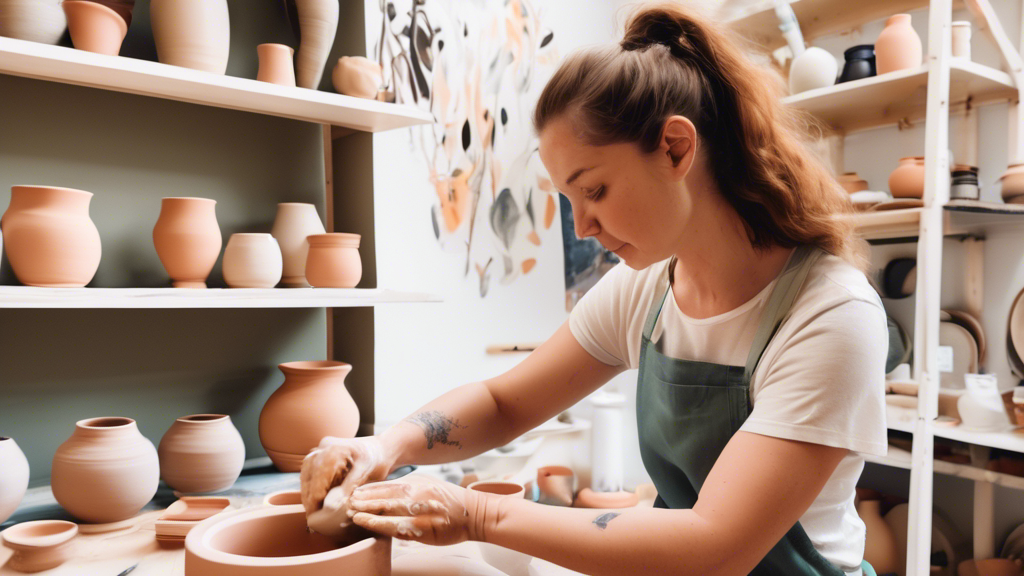
Hand-building is the most accessible technique, requiring minimal equipment. It includes methods like pinching, coiling, and slab building. Beginners often find hand-building a rewarding way to create because it allows for direct interaction and control over the clay. Throwing, although more challenging, offers a unique satisfaction of shaping clay as it spins. This method requires patience and practice but results in symmetrical pieces typically used for functional pottery. Once shaped, your creation needs to dry to a leather-hard stage, where it is still slightly malleable. This stage is ideal for carving or adding embellishments. Further drying will lead to the bone-dry stage, where the clay is completely dry and ready for bisque firing. Bisque firing is the initial firing process that transforms clay into ceramic. It's done in a kiln at a lower temperature to drive out all remaining moisture and make the piece more durable for glazing. The bisque firing typically takes up to 24 hours, including heating and cooling time. Glazing involves coating your bisque-fired piece with a layer of glaze, a liquid glass that adds color, texture, and strength. There are various glazing techniques, such as dipping, pouring, and brushing. After glazing, the piece requires a final firing at a higher temperature to vitrify the glaze, making it glass-like and impermeable. The final firing, also known as glaze firing, requires careful temperature control and monitoring to ensure the glaze melts properly without damaging the piece. The temperature and duration of this firing depend on the type of clay and glaze used but it typically reaches temperatures higher than those of the bisque firing. The process of ceramics making is both complex and incredibly rewarding. Each step, from selecting the right clay to the final firing, offers opportunities for creativity and personal expression. While this guide provides a basic overview, the true knowledge of ceramics comes from hands-on experience and experimentation. So, gather your materials, and don’t be afraid to get your hands dirty. The world of ceramics awaits!Introduction to Ceramics Making
Step 1: Choosing Your Clay
Step 2: Preparing the Clay
Step 3: Shaping
Hand-Building
Throwing on a Pottery Wheel
Step 4: Drying
Step 5: Bisque Firing
Step 6: Glazing
Step 7: Final Firing
Conclusion