The Art of Pottery Making: A Step-by-Step Guide
The Art of Pottery Making: A Step-by-Step Guide
Pottery making is a time-honored craft that combines the elements of earth, water, air, and fire to create functional and decorative objects. From simple cups to elaborate vases, the process of transforming clay into pottery is both therapeutic and rewarding. Whether you're a beginner looking to dip your fingers into the clay for the first time or an experienced potter seeking to refine your skills, this step-by-step guide will walk you through the fundamental stages of pottery making.
Step 1: Gathering Your Materials
Before you begin, ensure you have all the necessary materials and tools. The essentials include clay, water, a work surface, pottery wheel (optional for wheel throwing), sculpting tools, a sponge, wire cutter, and a kiln. Selecting the right type of clay is crucial, as different clays are suited for various pottery techniques.
Step 2: Preparing the Clay
Clay preparation, also known as wedging, is essential to remove air bubbles and achieve a uniform consistency. Knead the clay firmly with your hands or on a surface until it's pliable and smooth. This process also aligns the clay particles, which is vital for the structural integrity of your final piece.
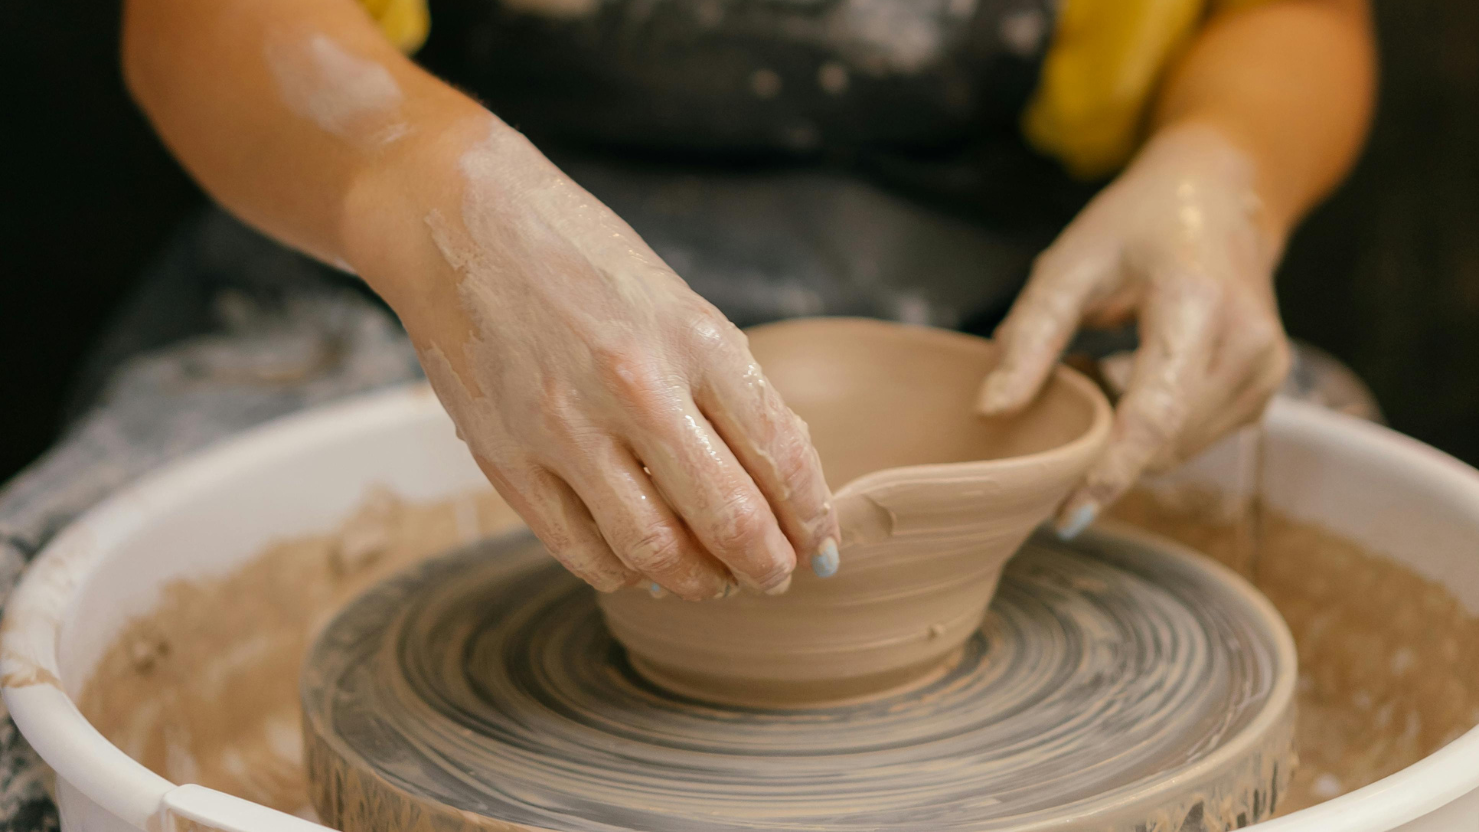
Step 3: Shaping Your Piece
This step can vary significantly depending on whether you're hand-building or wheel-throwing.
Hand-Building: Hand-building techniques such as pinching, coil building, and slab construction are excellent for beginners. Each method allows for creative expression and the production of unique shapes not easily achieved on a wheel.
Wheel-Throwing: For those with access to a pottery wheel, centering the clay on the wheel head and shaping it while the wheel spins opens up possibilities for creating symmetrical pieces. This technique requires practice to master the coordination and pressure applied to the clay.
Step 4: Drying and Trimming
Once you are satisfied with your piece, it needs to dry to a leather-hard state, where it is still slightly malleable but holds its shape. At this stage, you can trim excess clay, carve details, or add attachments such as handles. After additional drying to the bone dry state, your piece is ready for bisque firing.
Step 5: Bisque Firing
Bisque firing is the initial firing process where your work is transformed from clay to ceramic. This is done in a kiln, a high-temperature oven, which you'll heat slowly to avoid cracking. The specific temperature and duration depend on the clay type but generally range between 1700°F and 1940°F (927°C and 1060°C). After cooling, your piece will be porous but hard.
Step 6: Glazing
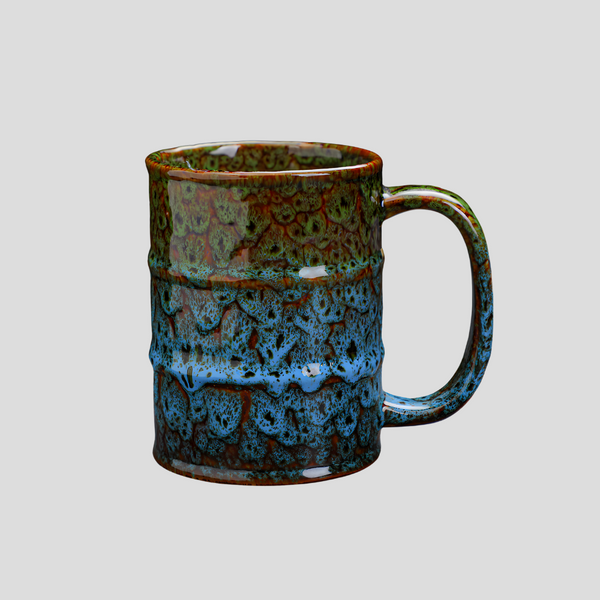
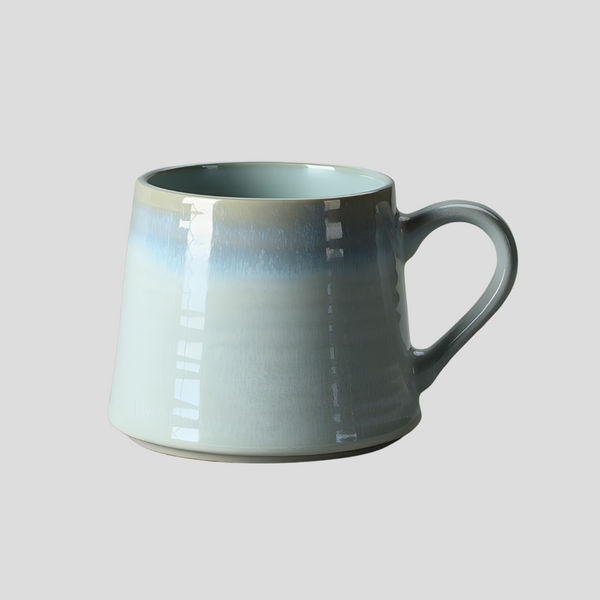
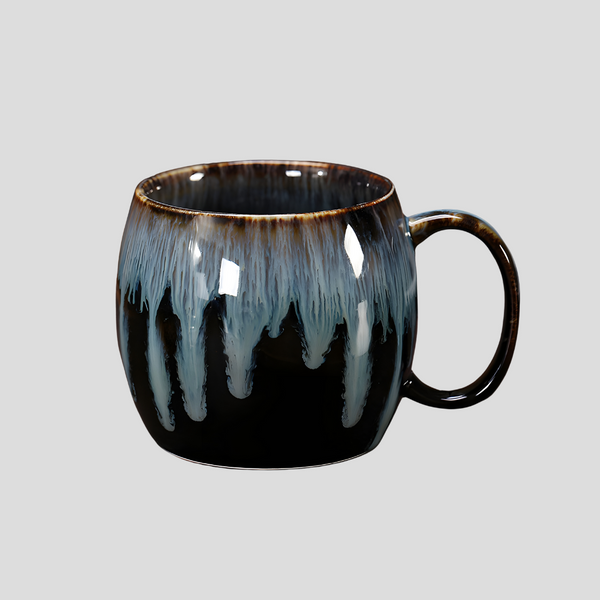
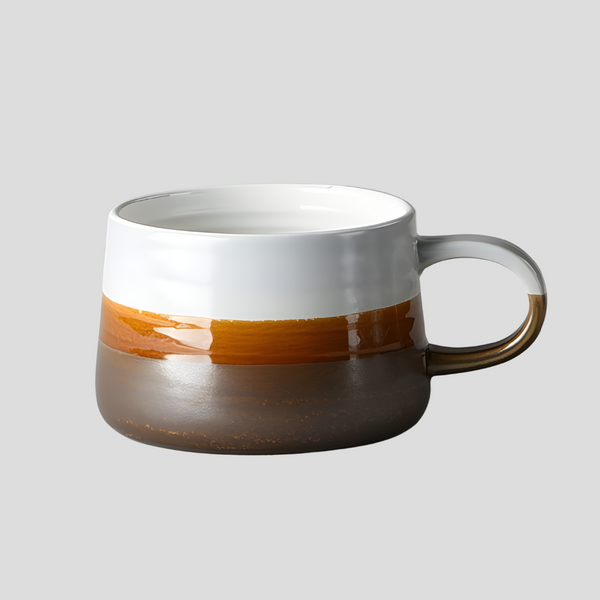
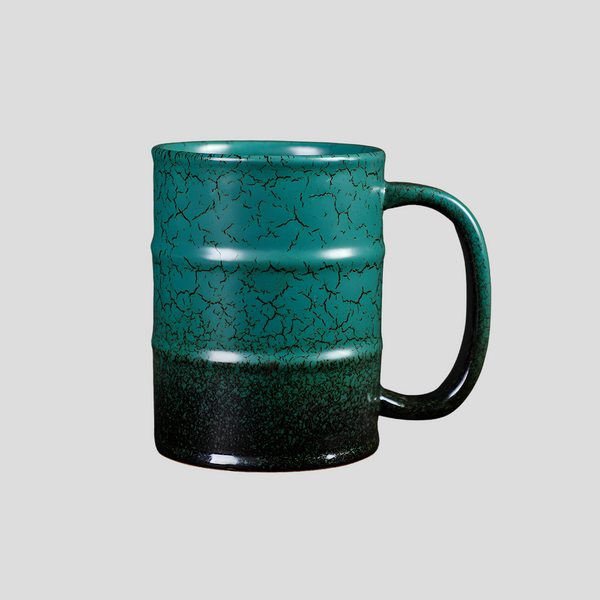
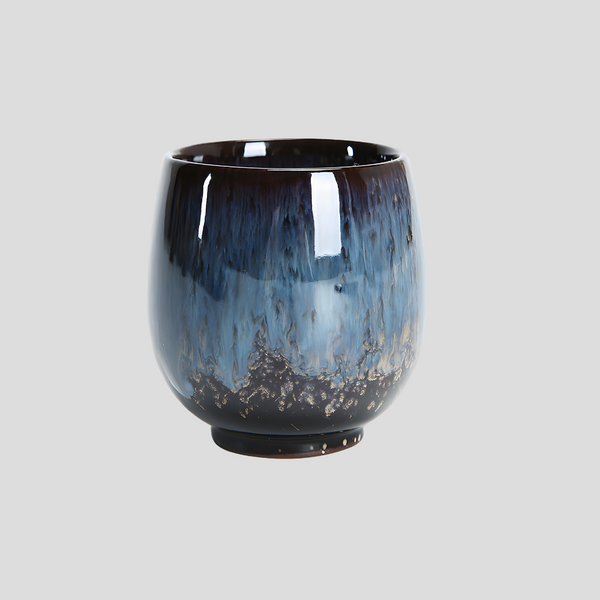
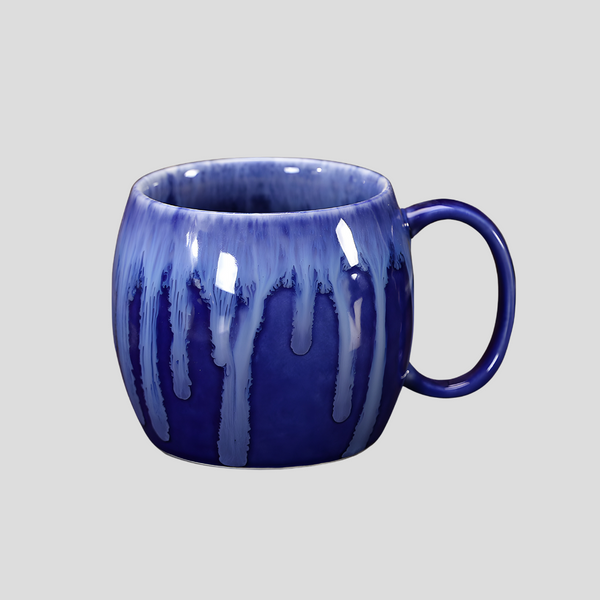
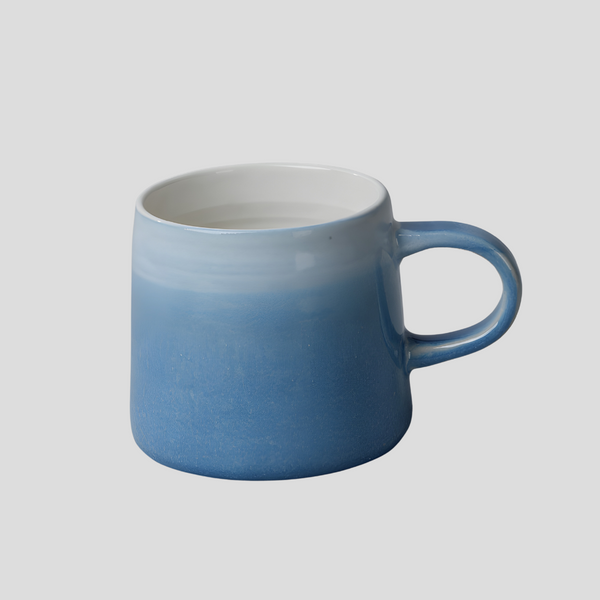
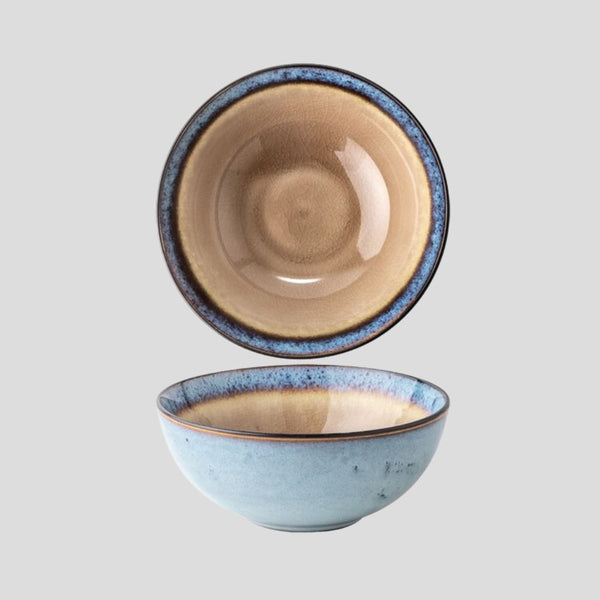
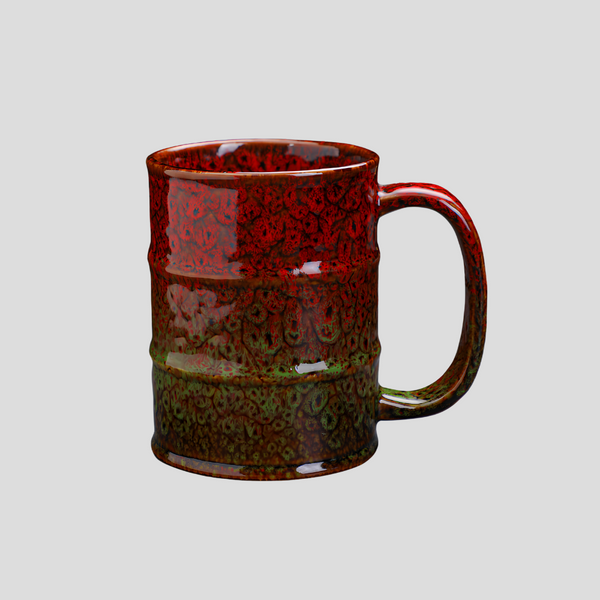
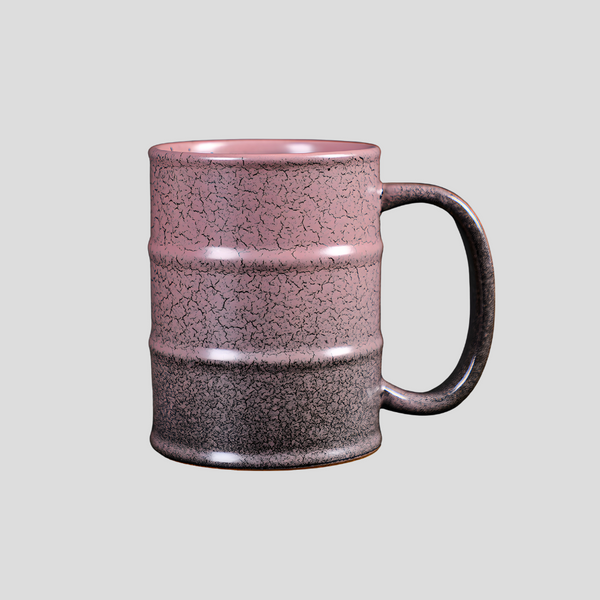
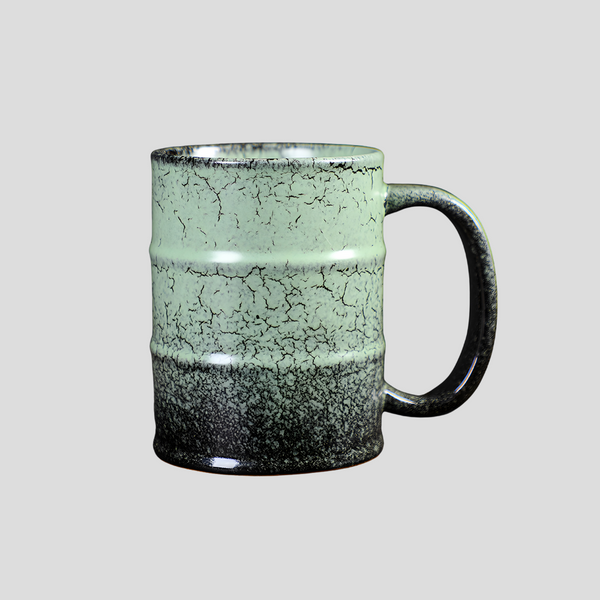
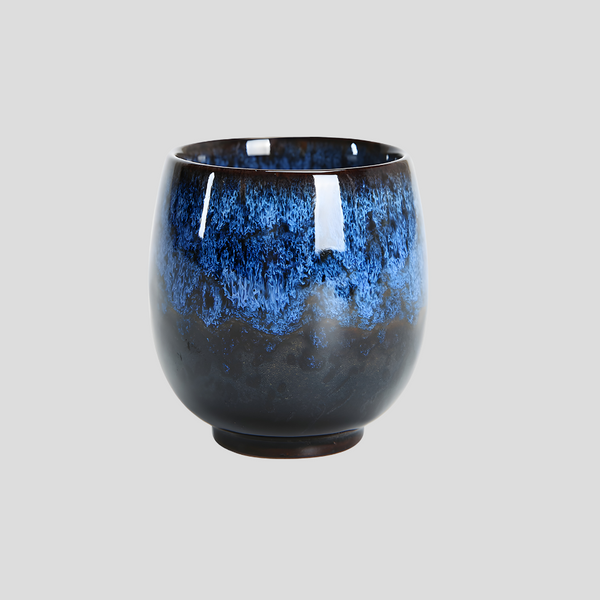
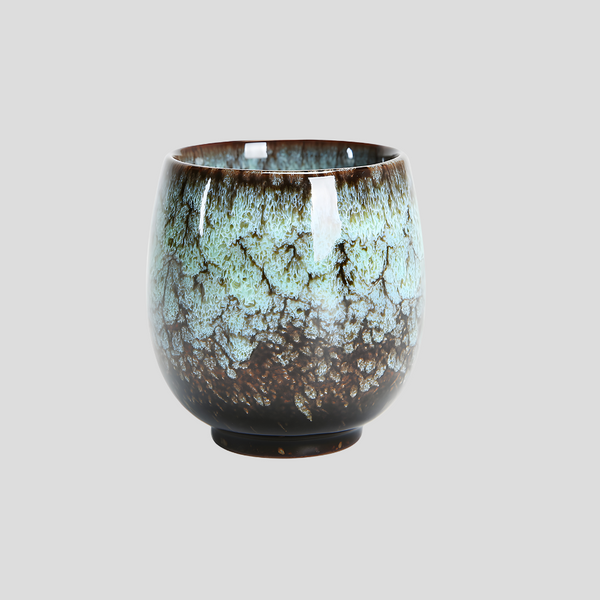
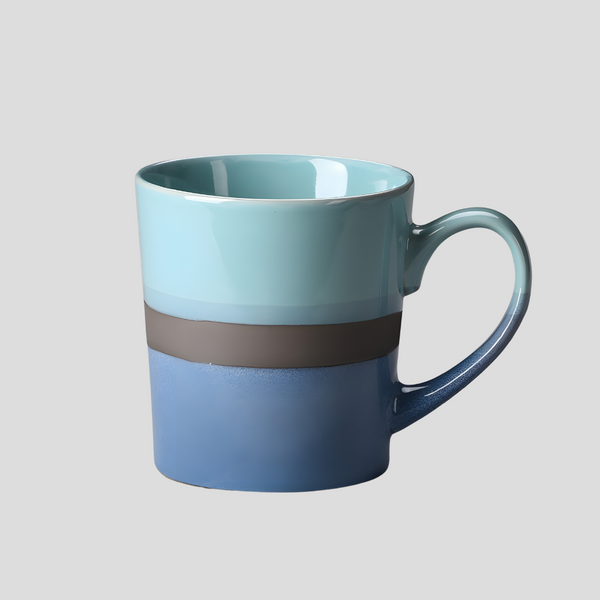
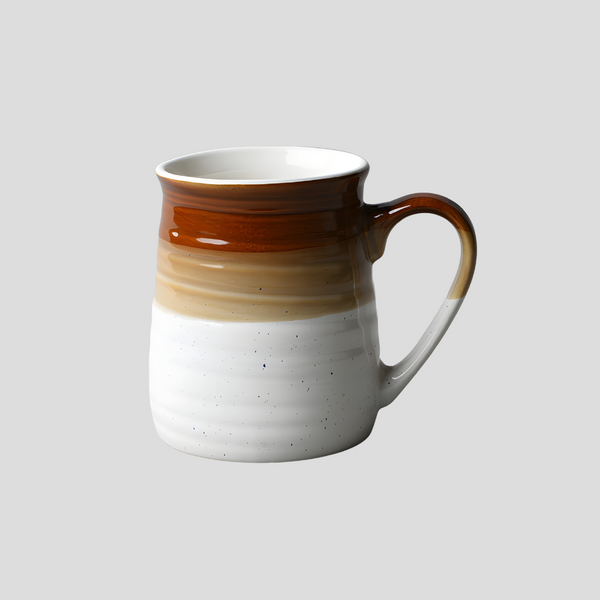
Glazing involves applying a coating of liquid glaze to your bisque-fired piece. Glazes come in various finishes and colors, allowing for artistic expression. After applying the glaze, the piece undergoes a second firing, known as glaze firing, at a higher temperature. This melts the glaze, creating a glassy surface that is both decorative and functional.
Step 7: Glaze Firing
The final step is the glaze firing, where the kiln is typically heated to temperatures between 1828°F and 2381°F (998°C and 1305°C), according to the glaze’s maturity point. This is where the magic happens, as the glaze interacts with the ceramic body to create a vibrant, durable finish.
Pottery making is a rewarding process that allows for endless creativity and personalization. While the basic steps remain the same, each potter brings their technique and vision to the process, making every piece truly unique. Remember, the key to mastering pottery is practice and patience, so don’t be discouraged by the learning curve. Embrace each stage of the process and enjoy the journey of bringing your clay creations to life.
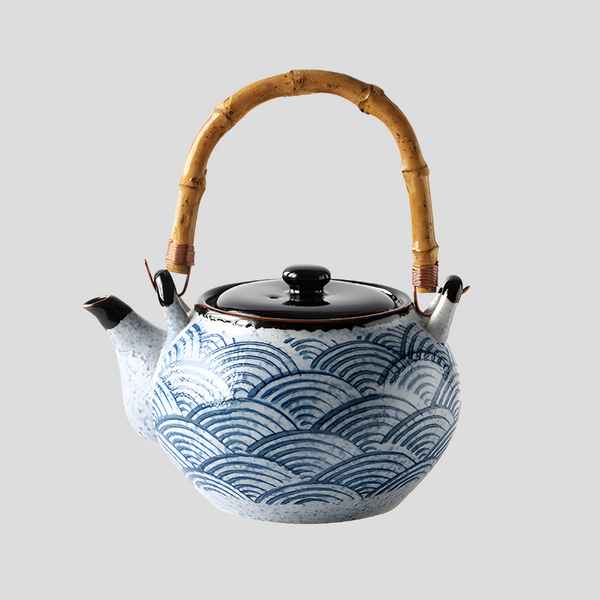
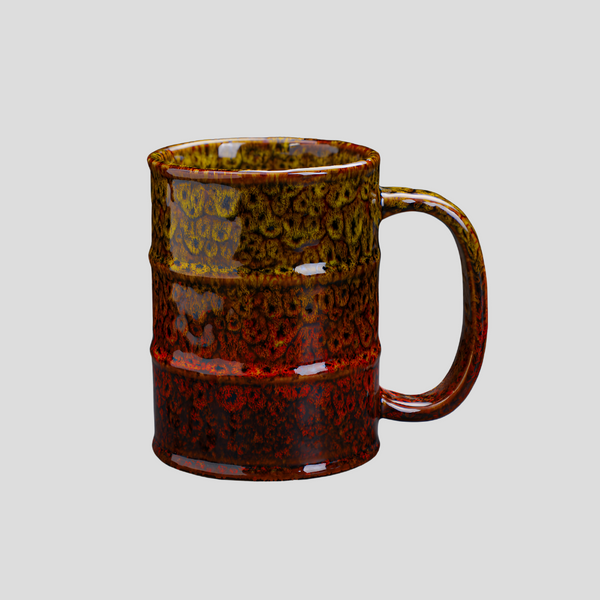
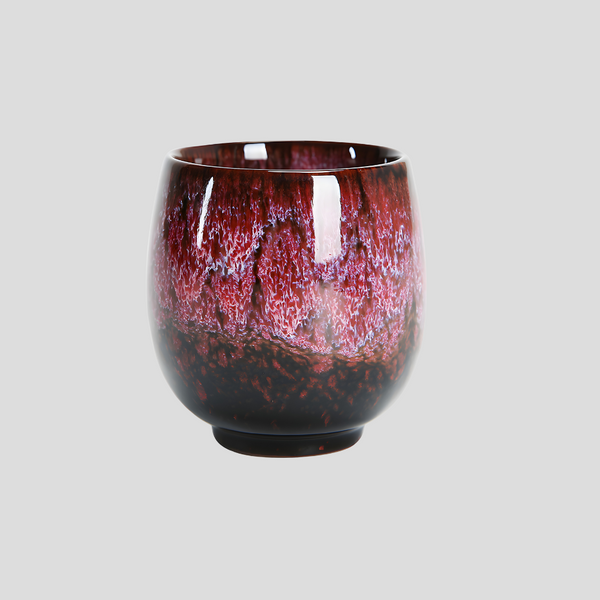
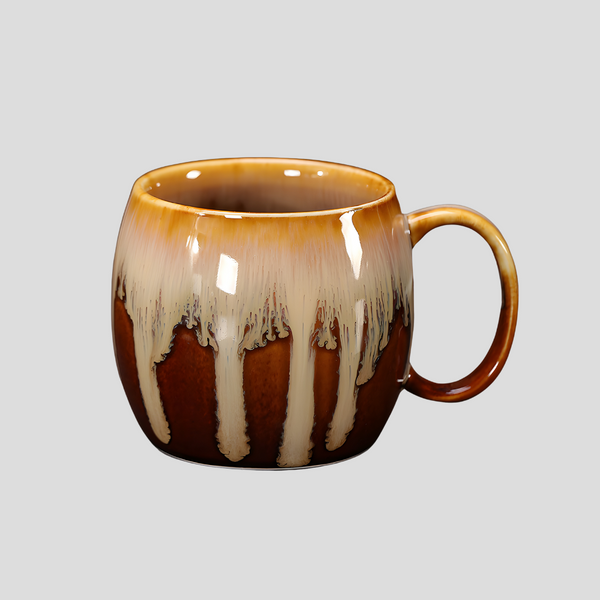
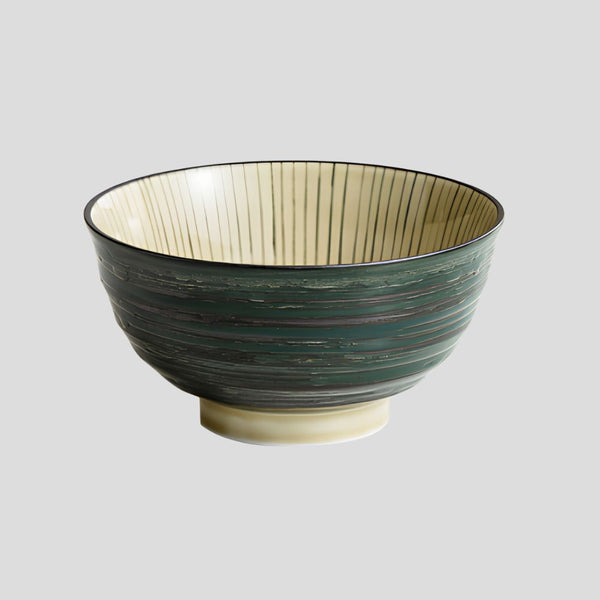
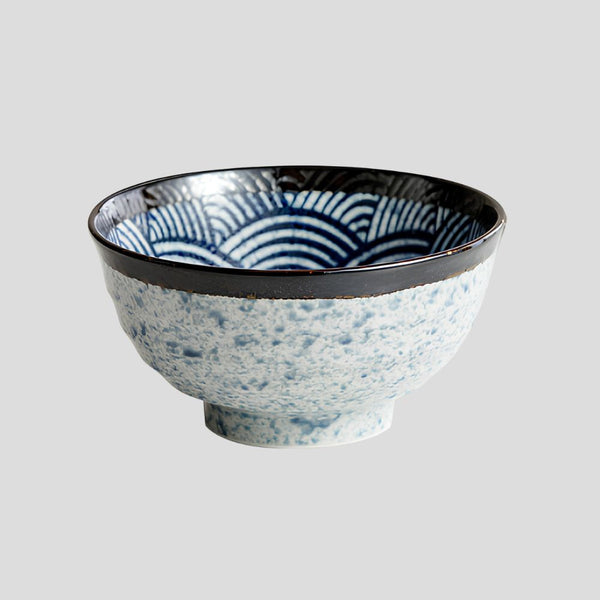
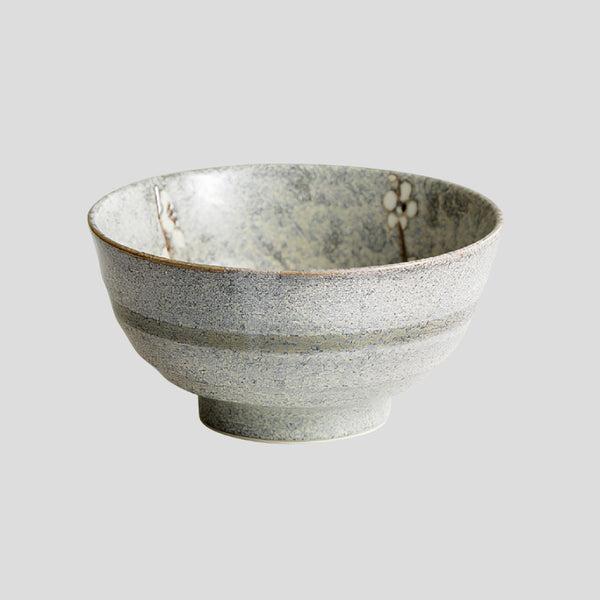
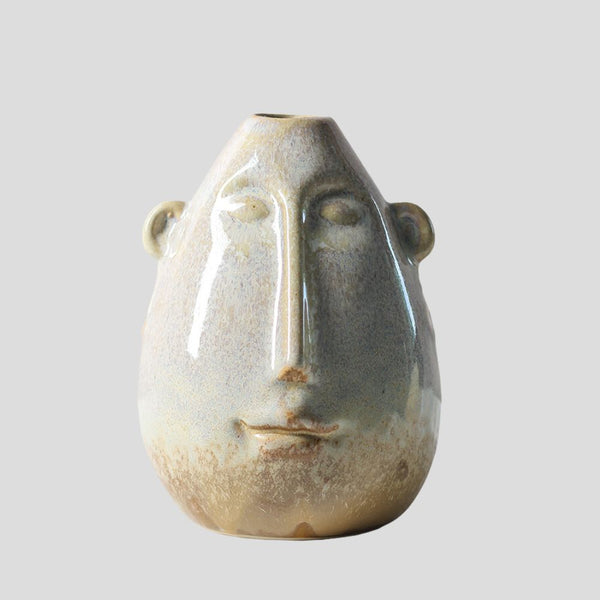
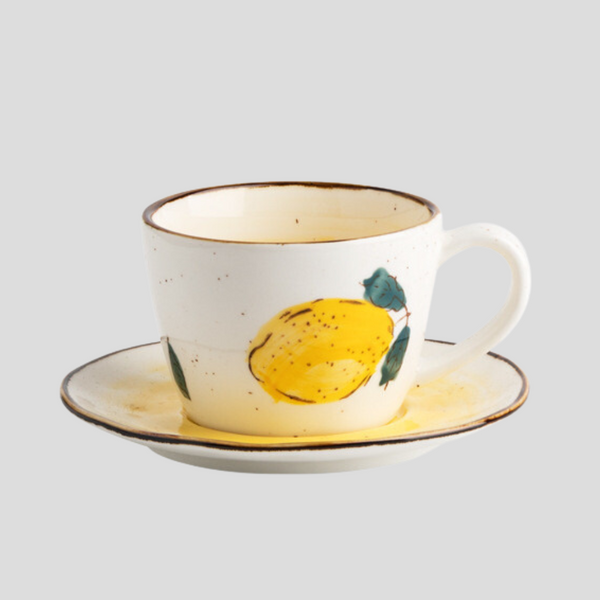
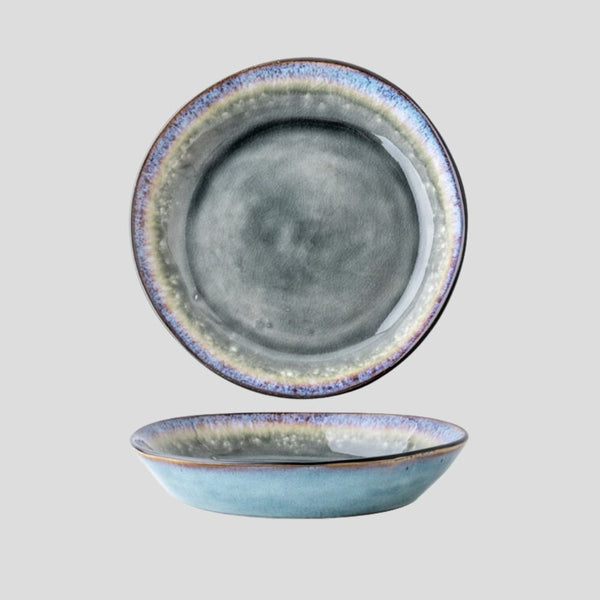
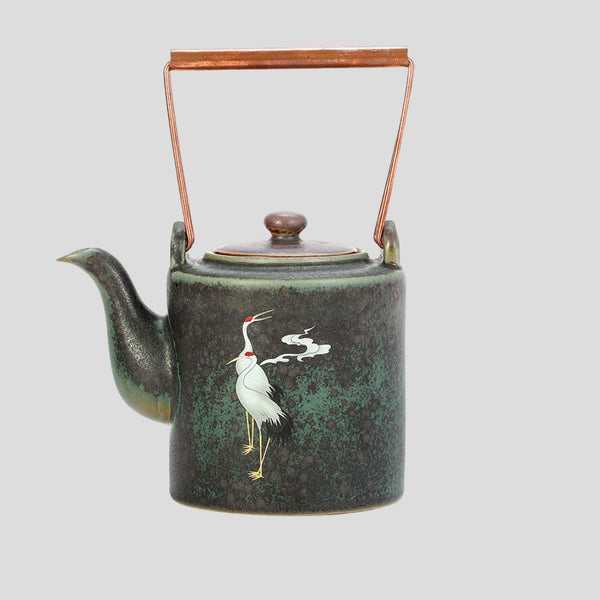
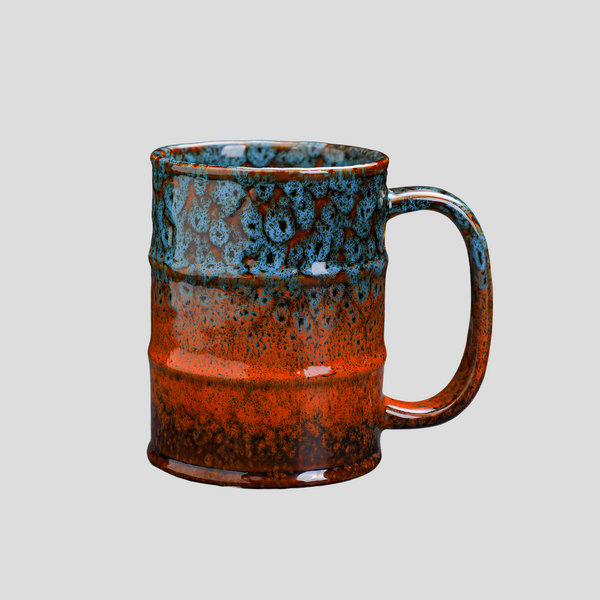
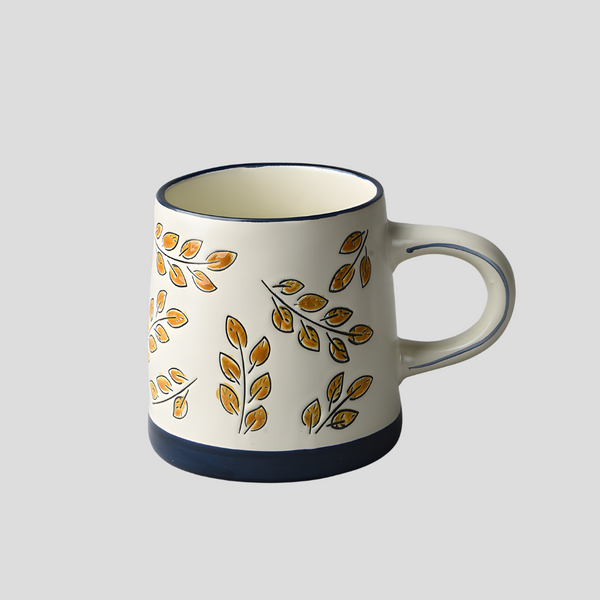
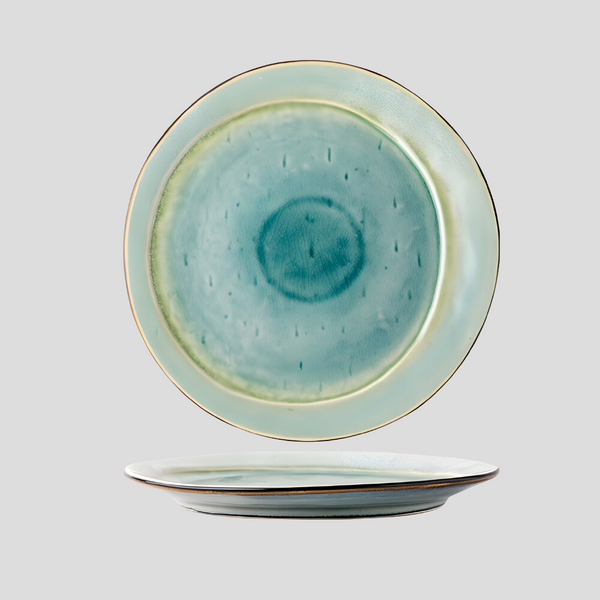
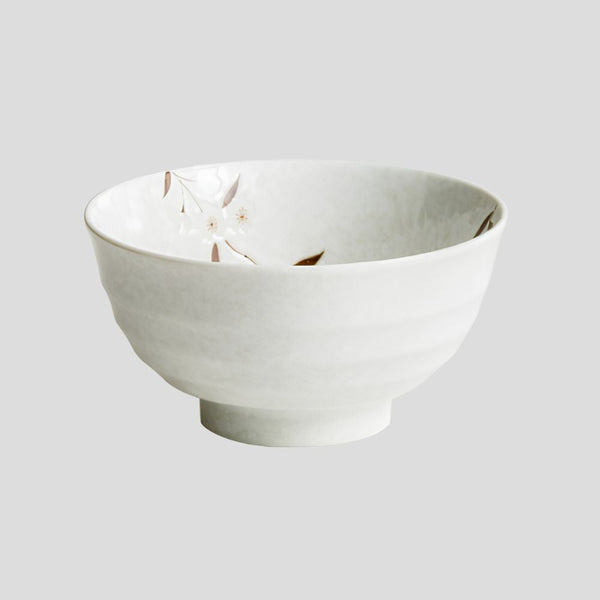
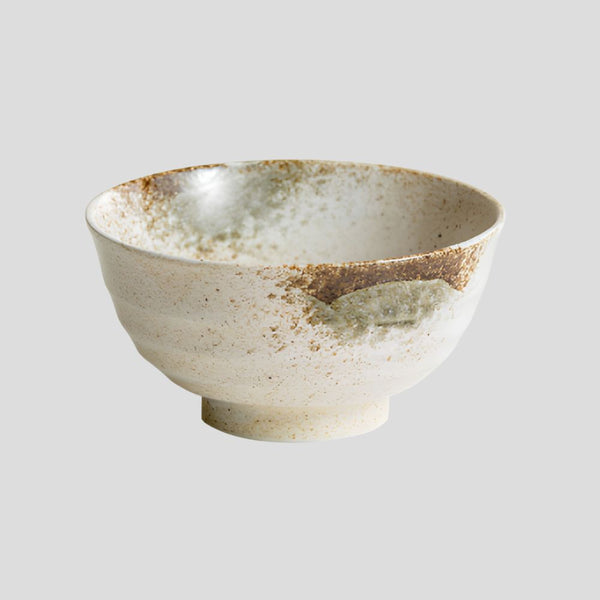
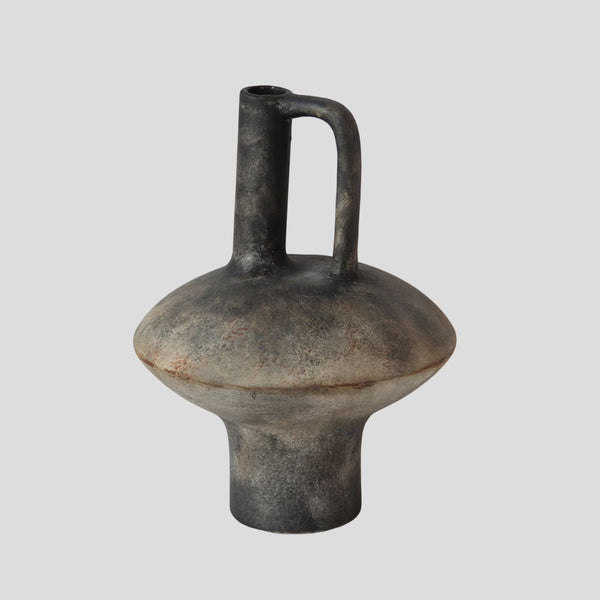
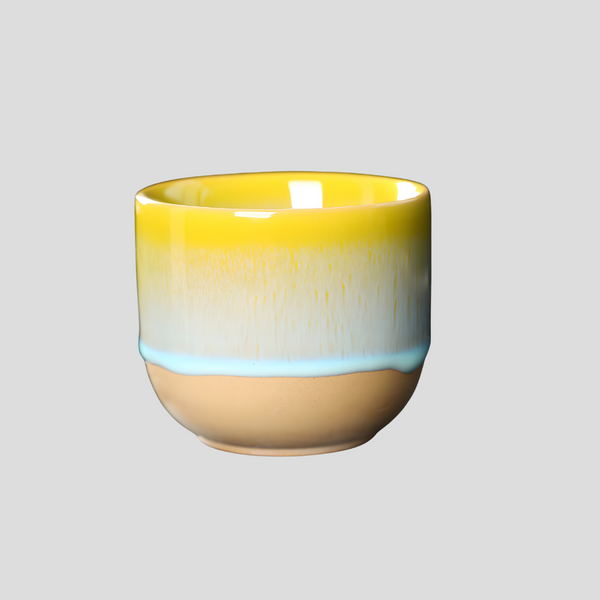
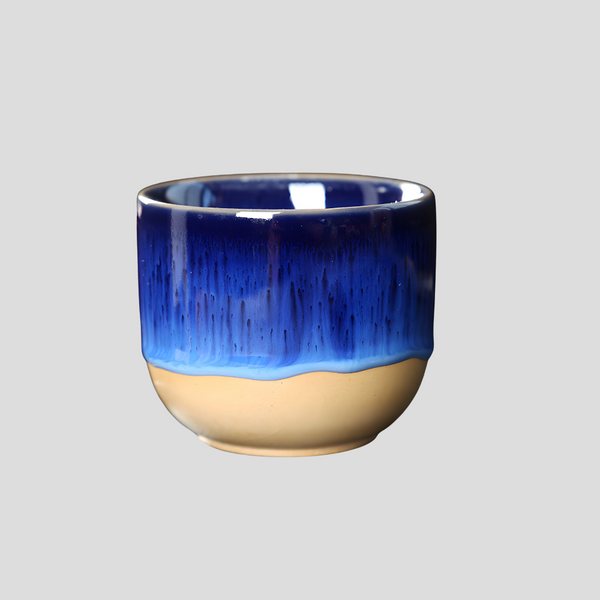
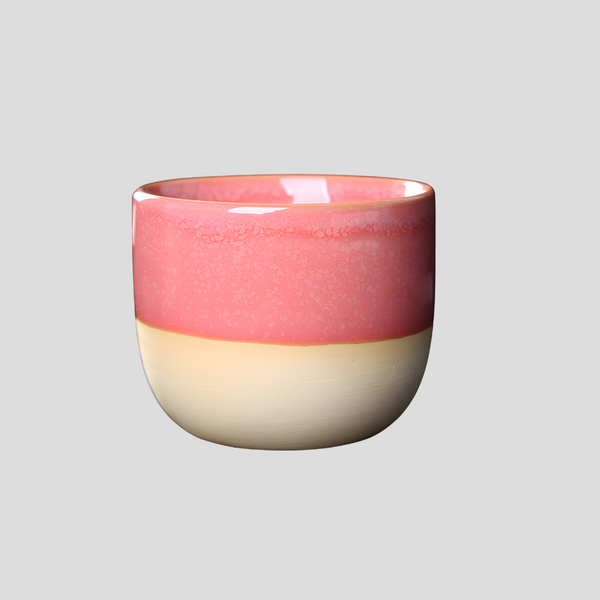
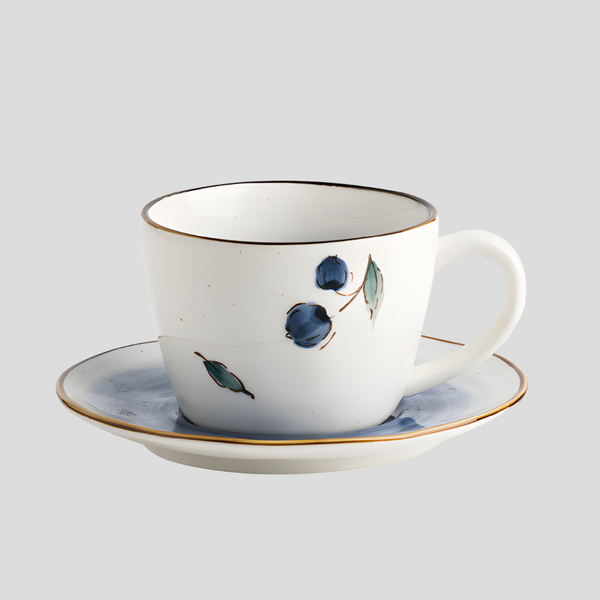
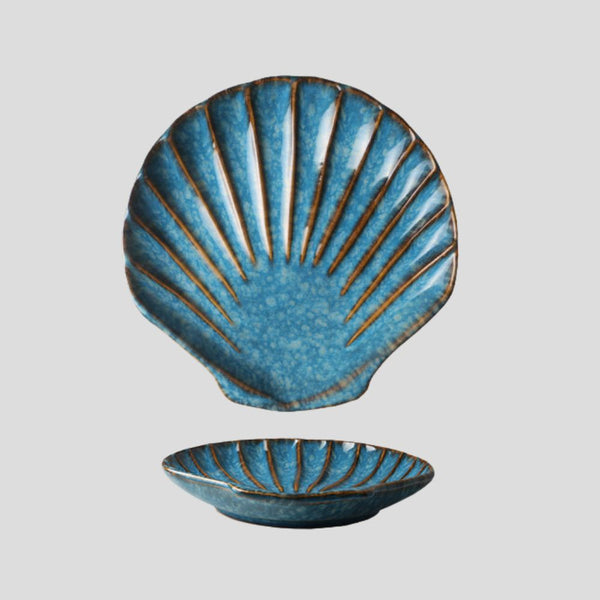
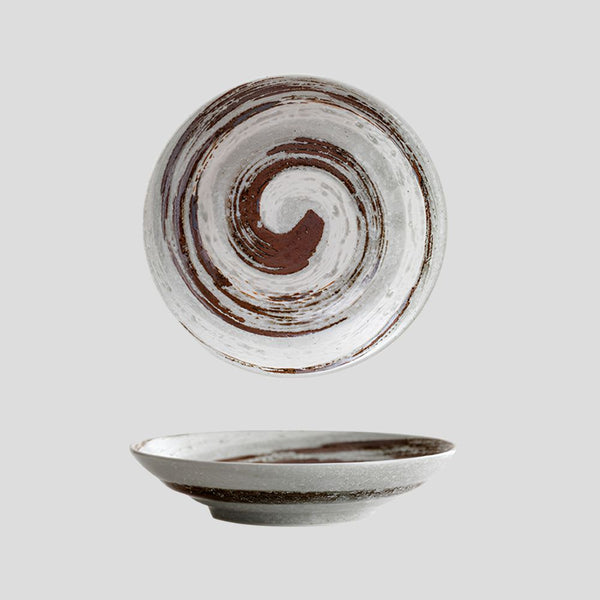
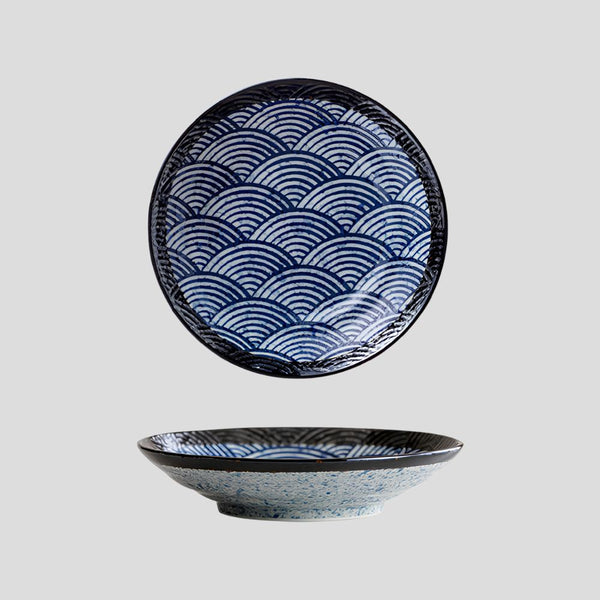
Click this link to check out our ceramic artwork!