Exploring the Pottery Making Process: A Step-by-Step Guide
Exploring the Pottery Making Process: A Step-by-Step Guide
The creation of pottery, one of the oldest human inventions, melds art and utility in a way that captivates both creators and admirers. Pottery making is a complex, rewarding process that allows for the expression of creativity and technical skill. This step-by-step guide explores the fundamental stages involved in transforming a simple lump of clay into a finished piece of pottery.
Step 1: Preparing the Clay
The first step in the pottery making process is preparing the clay, a critical stage that affects the quality and workability of the end product. Wedging, the process of kneading the clay, removes air bubbles and ensures a uniform consistency. Properly prepared clay will have the right moisture content and texture for shaping, preventing issues like cracking and warping during firing.
Step 2: Shaping
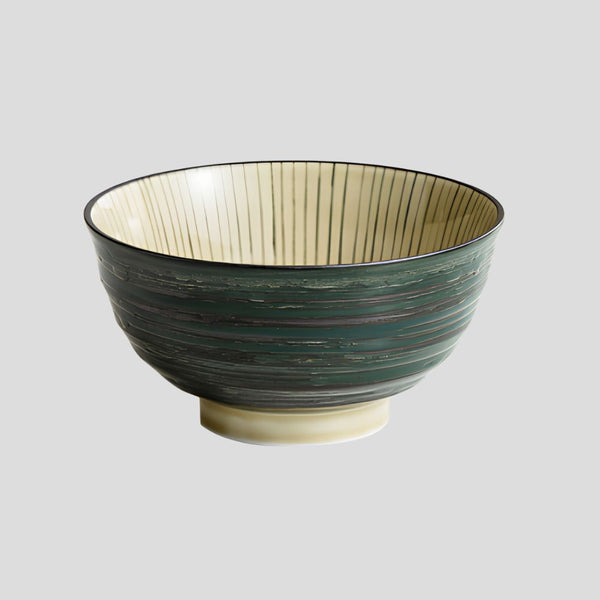
Once the clay is prepared, the next step is shaping it into the desired form. This can be done using various techniques such as hand building or throwing on a potter's wheel. Hand building techniques include pinching, coil building, and slab construction, allowing for a wide range of shapes and sizes. Throwing on a potter's wheel, however, requires skill and practice but offers a unique sense of symmetry and speed in shaping. Each method has its unique appeal and challenges, with the choice often depending on the potter's preference and the piece's intended function.
Step 3: Drying
After shaping, the piece needs to be left to dry until it reaches a leather-hard stage, where it is still malleable but strong enough to handle. At this stage, additional features such as handles or decorative elements can be attached. Once leather-hard, the piece continues drying until it is bone dry, a state in which it is ready for bisque firing. The drying process is crucial and must be done slowly to prevent warping or cracking.
Step 4: Bisque Firing
The next step is the bisque firing, where the pottery is fired in a kiln at a lower temperature to harden the clay. This firing process eradicates all remaining moisture, making the piece more durable and ready to be glazed. Bisque firing also ensures that the glaze will properly adhere to the pottery's surface in the next step.
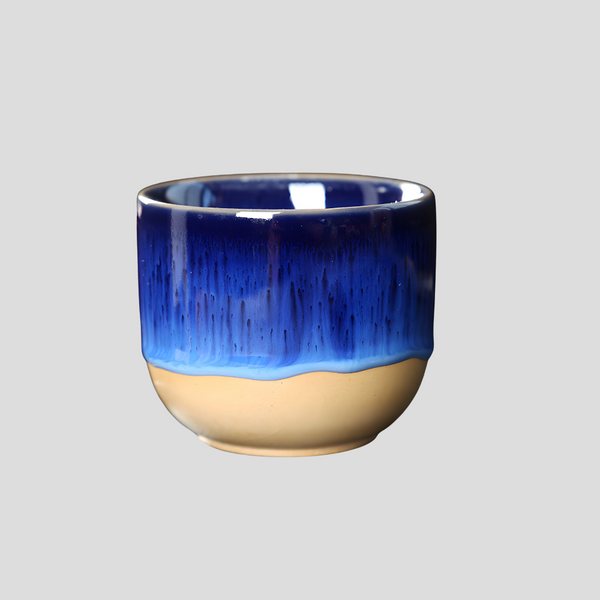
Step 5: Glazing
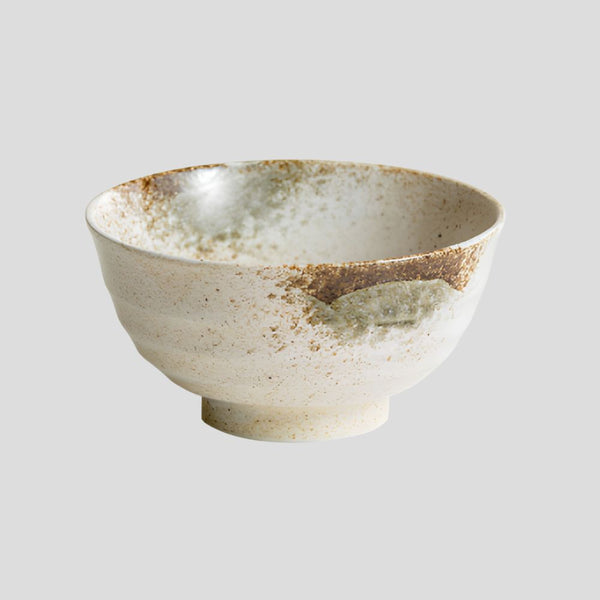
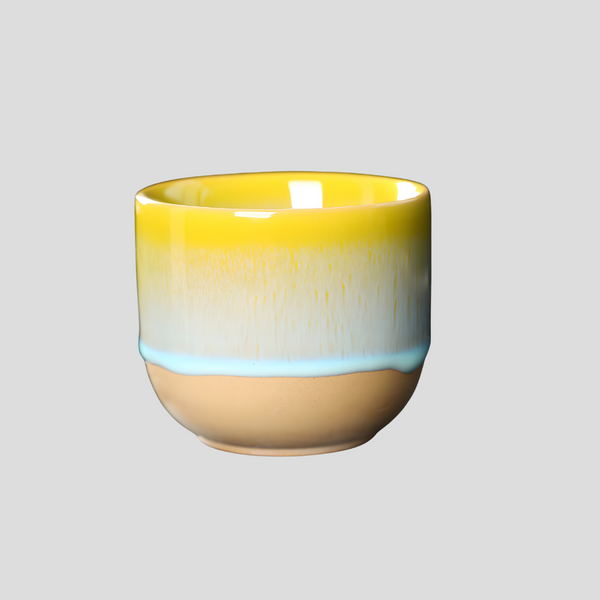
Glazing involves coating the bisque-fired piece with a thin layer of glaze, a liquid form of glass. The choice of glaze and application method can dramatically affect the piece's color, texture, and functionality. Glazes can be applied by dipping, pouring, brushing, or spraying, with each technique offering different finishes and effects. After glazing, the pottery must be fired again at a higher temperature to vitrify the glaze, creating a glass-like surface that is decorative and functional.
Step 6: Final Firing
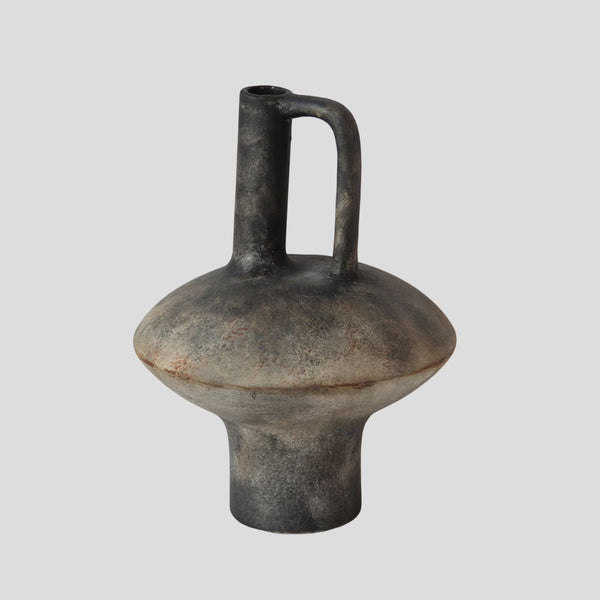
The final step in the pottery making process is the glaze firing, where the glazed pottery is placed in the kiln and fired to a temperature that melts the glaze and fuses it to the pottery, forming a glossy and often colorful exterior. This firing transforms the piece both aesthetically and functionally, making it impermeable to water and suitable for everyday use.
Conclusion
The pottery making process is a meditative and artistic journey that requires patience, skill, and creativity. From preparing the clay to the final firing, each step plays a crucial role in creating a piece of pottery that is both beautiful and functional. Whether you're a beginner or an experienced potter, the act of creating pottery remains a deeply satisfying and timeless craft.